Easy Star Stitch Crochet Coasters: Free Beginner Pattern
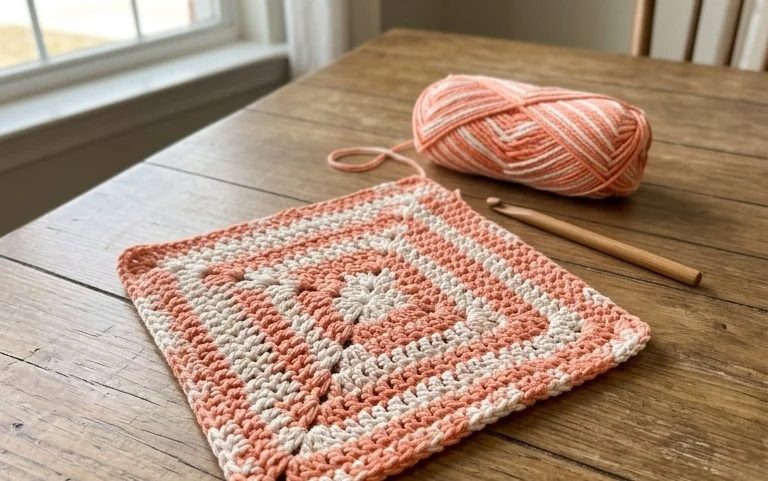
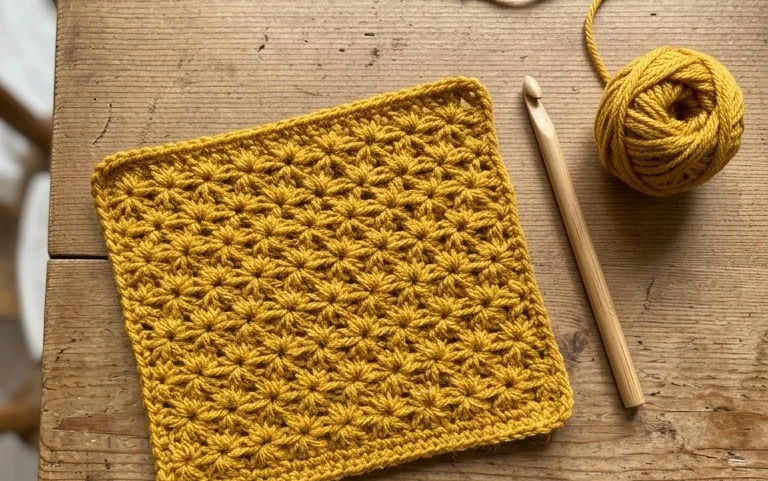
The star stitch creates a dense, beautiful texture that looks like rows of tiny blossoms captured in yarn. This pattern works well for anyone new to working in the round because it uses simple cotton string and basic movements to build a sturdy, thick coaster. Each piece feels substantial in your hands and provides a stable landing spot for your morning mug or a cold glass of lemonade. You will master the rhythm of pulling loops through clusters to form these signature shapes. It is a satisfying project to finish in a single afternoon while relaxing on the porch.
Why You’ll Love This Pattern
This beginner-friendly crochet coaster pattern uses a simple spiral construction, making it an ideal first project for those new to working in the round. You can complete a single coaster in under thirty minutes, which makes it perfect for last-minute handmade gifting. Because the design requires only a small amount of yarn, it is an excellent way to use up leftover cotton scraps from larger projects. The resulting fabric is dense and absorbent, providing a reliable surface for cold glasses or hot mugs while protecting your furniture from moisture.
I managed to whip up a set of four for my coffee table in one afternoon and the flat, circular finish looks very professional even though I am still learning the ropes.
— Sarah, casual crafter
Pattern Overview & Skill Level
- Skill Level: Beginner
- Approximate Time: 20–30 minutes per coaster
- Construction: Continuous rounds worked in a spiral starting from a magic ring
- Finished Dimensions: Approximately 4 inches in diameter
Materials & Supplies Needed
- Yarn: Worsted weight (#4) cotton yarn. Cotton is preferred for its heat resistance and absorbency. You will need approximately 15 yards per coaster.
- Hook Size: 5.0 mm (H-8) crochet hook.
- Notions: Tapestry needle for weaving in ends and a stitch marker to keep track of the start of your rounds.
- Yarn Substitutions: Acrylic yarn can be used for decorative purposes, but it may melt if placed under very hot mugs. Wool yarn is absorbent but requires hand washing. Using a lighter weight yarn will result in a smaller coaster, while a bulkier yarn will require a larger hook to prevent the fabric from becoming too stiff.
Stitch Guide & Abbreviations (US Terms)
- MR: Magic Ring
- st: Stitch
- ch: Chain
- sc: Single crochet
- inc: Increase (work 2 sc in the same stitch)
- sl st: Slip stitch
- BLO: Back loop only
- FO: Fasten off
Step-by-Step Pattern Instructions
Work all rounds in a continuous spiral. Place a stitch marker in the first stitch of every round to keep track of your position.
Coaster Body
- Rnd 1: Start with a MR. Work 6 sc into the ring. Tighten the ring to close (6 sts).
- Rnd 2: Work 2 sc in each st around (12 sts).
- Rnd 3: (1 sc in next st, inc in next st) repeat 6 times (18 sts).
- Rnd 4: (1 sc in next 2 sts, inc in next st) repeat 6 times (24 sts).
- Rnd 5: (1 sc in next 3 sts, inc in next st) repeat 6 times (30 sts).
- Rnd 6: (1 sc in next 4 sts, inc in next st) repeat 6 times (36 sts).
Finishing
Once you reach the final stitch of Rnd 6, perform a slip stitch into the next stitch to level off the edge. Cut your yarn, leaving a 6-inch tail. Pull the tail through the loop and use your tapestry needle to weave the end securely into the back of the coaster. Trim any excess yarn flush with the fabric.
Care & Washing Instructions
- Machine wash on a gentle cycle in cold water with similar colors.
- Lay the coaster flat on a towel to air dry, reshaping it with your hands if necessary.
- Do not bleach or iron, as high heat can damage cotton fibers and cause the coaster to lose its shape.
Pro Tips & Common Mistakes to Avoid
Maintain consistent tension throughout your work to ensure the coaster lies perfectly flat. If the circle starts to cup, your tension might be too tight; if it starts to ripple, your tension is likely too loose. Always use a stitch marker at the start of each round to avoid losing count, as it is easy to skip the first stitch in a spiral. Weave your yarn ends in multiple directions—horizontally, vertically, and diagonally—to prevent them from working loose over time. To adjust the size, simply continue the increase pattern in Rnd 7 by working (1 sc in next 5 sts, inc in next st) around, though this will require more yarn.
Frequently Asked Questions
Can I use a different yarn weight for this pattern?
Yes, but the size of the finished coaster will change. Using a DK weight yarn with a 4.0 mm hook will result in a smaller coaster, whereas using a bulky weight yarn with a 6.0 mm hook will create a significantly larger, thicker coaster.
Why does my coaster curl up like a bowl?
If your coaster is curling, you are likely working with tension that is too tight. Try loosening your yarn flow or moving up one hook size to allow the stitches to lay flatter.
Is this pattern suitable for complete beginners?
This is a foundational pattern that teaches working in the round and increasing. As long as you are comfortable with the single crochet stitch, you will find this project very approachable.
Can I sell the coasters I make from this pattern?
You are welcome to sell finished items made from this pattern. Please credit the design back to this tutorial when listing your products online.
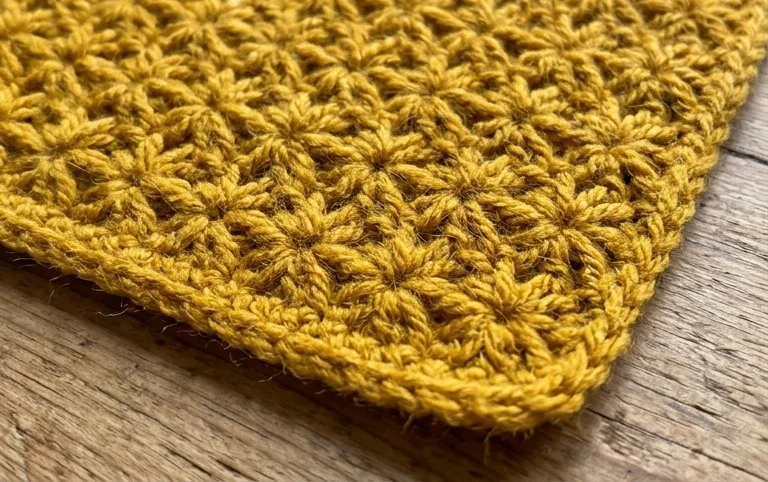
Your completed coasters bring a handmade charm to any room and stand up to daily use without losing their shape. You can experiment with variegated yarn to give each star a unique color shift or add a simple crab stitch border for extra weight. I would love to see how your project turned out, so please consider sharing a photo on your favorite social media site. Feel free to browse the rest of the blog for more patterns to build your collection of handmade household goods.