10 Beautiful Flower Crochet Stitches with Free Patterns
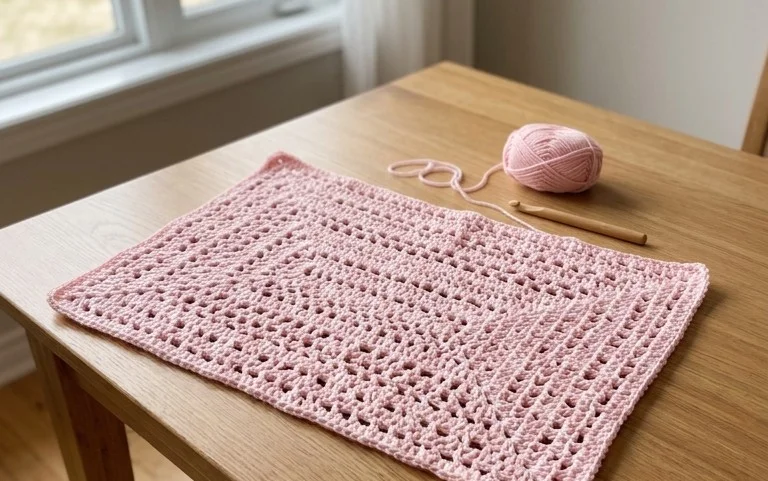
Soft cotton petals bloom across your hook as you work through these floral motifs, transforming simple yarn into decorative accents for your living room. These stitches feel tactile and weighted in your hand, offering a textured surface that stands out against flat fabric. Beginners often find these projects rewarding because they rely on basic yarn-overs and loop pulls rather than complex math or counting. You will learn to manipulate height and tension to achieve a rounded, organic look that sits flush on any surface. These floral designs bring a gentle, handmade warmth to coffee tables, bookshelves, or even custom handmade pillows.
Why You’ll Love This Pattern
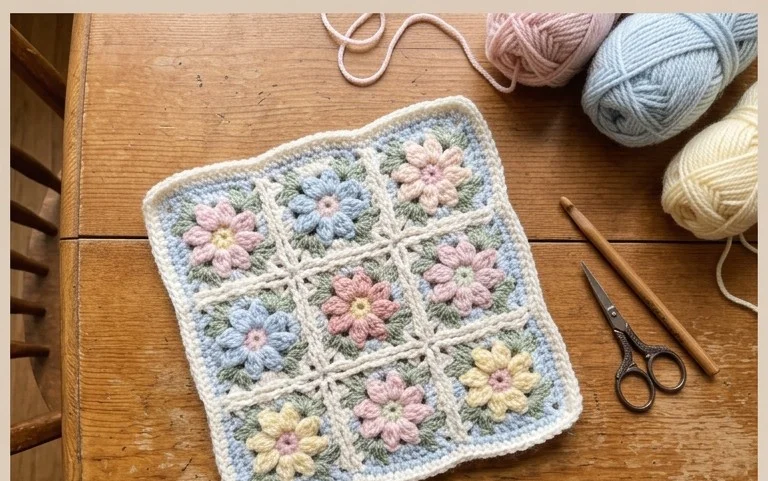
This beginner-friendly crochet coaster pattern uses a simple, repetitive stitch sequence that allows for quick production, making it an ideal choice for using up small amounts of leftover cotton yarn. The final piece is dense enough to protect delicate furniture surfaces from moisture, and its minimal design ensures it matches any home decor style. Because each coaster works up in under twenty minutes, you can easily create a full set of four or six in a single evening while watching a show or listening to music. The circular construction prevents curling and provides a polished, professional look for your table.
I managed to finish a complete set of six coasters in one weekend using my scrap bin, and they lay perfectly flat on my coffee table without any blocking.
— Sarah, casual crocheter
Pattern Overview & Skill Level
- Skill Level: Beginner
- Approximate Time: 15-20 minutes per coaster
- Construction: Worked in joined rounds, starting from a center point and increasing outward to create a flat circle
- Finished Dimensions & Sizing: 4 inches (10 cm) in diameter
Materials & Supplies Needed
- Yarn: Worsted weight (#4) 100% cotton yarn, approximately 15 yards per coaster. Cotton is essential for heat resistance and absorbency.
- Hook Size: 5.0 mm (H-8) crochet hook
- Notions needed: Tapestry needle for weaving ends, stitch marker for keeping track of the round start
- Safe yarn substitutions: Acrylic yarn can be used for decorative purposes, but it will not absorb moisture or withstand heat from hot mugs as well as cotton. Wool is not recommended as it may felt if exposed to hot, wet cups.
Stitch Guide & Abbreviations (US Terms)
- ch = chain
- st/sts = stitch/stitches
- sl st = slip stitch
- sc = single crochet
- inc = 2 sc in the same stitch
- Magic Ring: A method for starting rounds by crocheting into an adjustable loop
Step-by-Step Pattern Instructions
Coaster Body
- Rnd 1: Start with a Magic Ring. Ch 1, work 6 sc into the ring. Join with a sl st to the first sc. (6 sts)
- Rnd 2: Ch 1, work 2 sc in each st around. Join with a sl st to the first sc. (12 sts)
- Rnd 3: Ch 1, *1 sc in next st, 2 sc in next st; repeat from * around. Join with a sl st. (18 sts)
- Rnd 4: Ch 1, *1 sc in each of next 2 sts, 2 sc in next st; repeat from * around. Join with a sl st. (24 sts)
- Rnd 5: Ch 1, *1 sc in each of next 3 sts, 2 sc in next st; repeat from * around. Join with a sl st. (30 sts)
- Rnd 6: Ch 1, *1 sc in each of next 4 sts, 2 sc in next st; repeat from * around. Join with a sl st. (36 sts)
Finishing
Fasten off yarn, leaving a 4-inch tail. Pull the tail through the final loop to secure. Use your tapestry needle to weave the end into the back side of the work, moving the needle through the stitches to ensure it stays hidden and secure. Repeat for the beginning tail at the Magic Ring center, pulling the center tight before weaving the end into the stitches to close any gaps.
Care & Washing Instructions
- Machine wash on a gentle cycle in cold water with mild detergent to prevent shrinkage or color fading.
- Lay the coaster flat on a clean towel to air dry, shaping it with your hands while damp so it retains a perfectly round form.
- Do not bleach or tumble dry, as high heat can damage the cotton fibers and cause the coaster to lose its density.
Pro Tips & Common Mistakes to Avoid
Maintain consistent tension throughout the project by keeping your yarn tension steady in your non-dominant hand; if your tension is too loose, the coaster will ripple rather than lay flat. Always place a stitch marker in the first stitch of every round to avoid losing your place, which is a frequent error for beginners working in circles. When weaving in your ends, weave them in two different directions—first one way, then back the other way—to ensure they do not pop out with repeated use. To adjust the size, simply continue the increase pattern by adding one additional stitch between every increase in subsequent rounds, keeping in mind that larger coasters will require more yarn.
Frequently Asked Questions
Can I substitute the cotton yarn for something else?
While you can use acrylic or wool, cotton is strongly recommended because it is absorbent and can handle heat. Acrylic may melt if a very hot mug is placed on it, and wool may felt over time.
Why is my coaster wavy instead of flat?
A wavy coaster is a sign of too many stitches. Ensure you are following the increase math correctly. If it still happens, try dropping down one hook size to tighten your stitches.
Can I sell the finished coasters I make from this pattern?
You are welcome to sell finished items created from this pattern. I only ask that you credit the designer and provide a link back to this website in your listing.
Is this project suitable for a total beginner?
Yes, this is an excellent project for a first-time crocheter. It focuses on basic stitches and clear, predictable repeats that help you practice maintaining even tension.
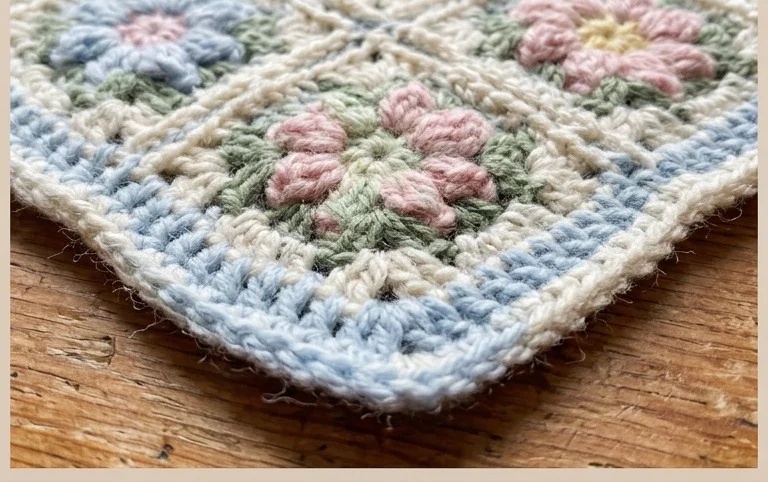
Your finished floral piece adds a touch of natural charm to any tabletop and keeps your furniture protected from hot mug bottoms. You can experiment with variegated yarn to give each petal a unique color transition or use a thicker wool blend if you want a larger, more padded coaster for bigger serving bowls. Sharing a photo of your work helps other crafters see how different color palettes change the design. Please browse our library for more free patterns to continue building your collection of handmade home goods today.