How to Make Fluffy Pom Poms: Easy Step-by-Step Guide
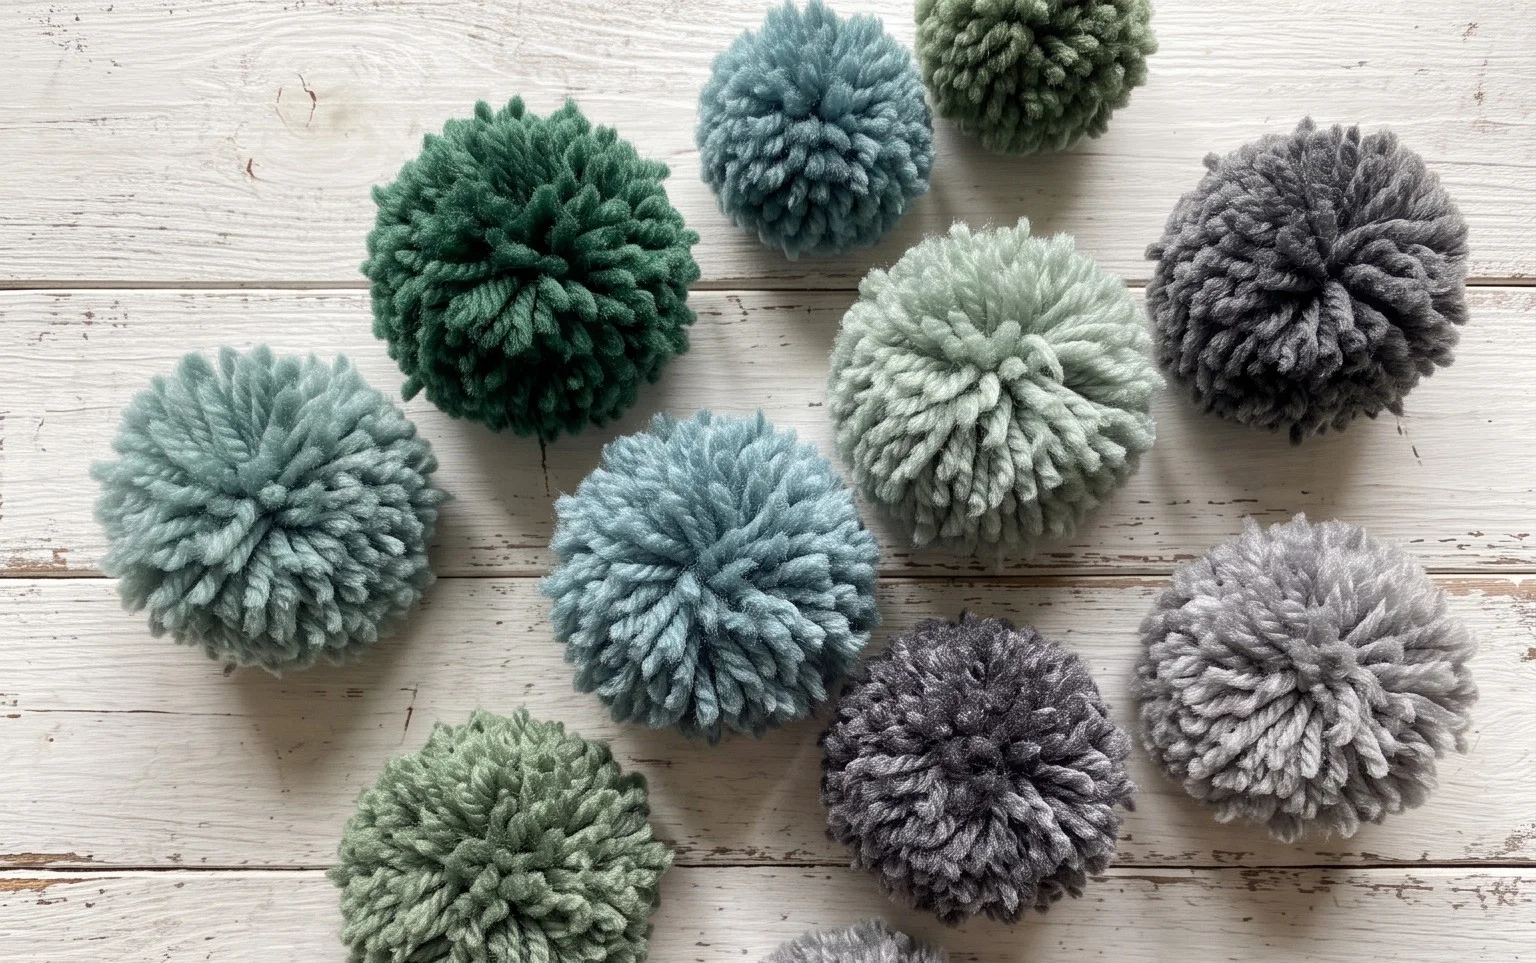
Dense and bouncy spheres add a finished, professional quality to hats, scarves, and even home decor accents like garlands. You likely have a basket of leftover yarn ends waiting for a purpose, and this simple method transforms those bits into soft, perfectly rounded additions for your craft pile. We rely on a consistent wrapping technique that ensures every strand stays locked in place, removing the frustration of thinning spots or uneven edges. Beginners will find this approach predictable and satisfying, while experienced makers will appreciate the speed of the assembly. You only need a few minutes to master the process.
Why Crocheters Love It
This beginner-friendly project creates a structured, charming amigurumi cactus that requires no watering or sunlight. Using the continuous round technique, you will practice basic increases and decreases, making it an ideal choice for someone ready to move beyond flat squares. The pattern is exceptionally quick to work up, allowing you to create a full desk set in a single afternoon using only small amounts of scrap yarn. Because it is a small item, it serves as an excellent exercise in maintaining consistent tension.
I finally finished my first cactus and it looks exactly like the photos. The instructions for the increase rounds were very easy to follow and the assembly was much simpler than I anticipated.
— Sarah, beginner crocheter
Pattern Overview & Skill Level
- Skill Level: Beginner
- Approximate Time: 1 to 2 hours
- Construction: Amigurumi-style continuous rounds using a magic ring, finished with a whip stitch assembly.
- Finished Dimensions: Approximately 4 inches tall including the pot.
Materials & Supplies Needed
- Yarn: Worsted weight (#4) acrylic or cotton yarn. You will need green for the cactus, brown for the soil, and a neutral color for the pot. Approximately 30 yards total.
- Hook Size: 3.5 mm (E-4).
- Notions: Fiberfill stuffing, yarn needle, stitch markers, and scissors.
- Safe yarn substitutions: You may use DK weight yarn with a 3.0 mm hook for a smaller, more delicate cactus. Using chunky weight yarn with a 5.0 mm hook will significantly increase the size and require more stuffing.
Stitch Guide & Abbreviations (US Terms)
- MR: Magic Ring.
- ch: Chain.
- sc: Single crochet.
- inc: Increase (2 sc in the same stitch).
- dec: Decrease (sc2tog through the front loops only).
- sl st: Slip stitch.
- st(s): Stitch(es).
- BLO: Back loop only.
Step-by-Step Pattern Instructions
Cactus Body
- Rnd 1: Work 6 sc into a MR. (6 sts)
- Rnd 2: Inc in each st around. (12 sts)
- Rnd 3: [Sc, inc] 6 times. (18 sts)
- Rnd 4: [Sc 2, inc] 6 times. (24 sts)
- Rnd 5-12: Sc in each st around. (24 sts)
- Rnd 13: [Sc 2, dec] 6 times. (18 sts)
- Rnd 14: [Sc, dec] 6 times. (12 sts)
- Stuff firmly and fasten off, leaving a long tail for sewing.
Pot
- Rnd 1: Work 6 sc into a MR. (6 sts)
- Rnd 2: Inc in each st around. (12 sts)
- Rnd 3: [Sc, inc] 6 times. (18 sts)
- Rnd 4: [Sc 2, inc] 6 times. (24 sts)
- Rnd 5: BLO, sc in each st around. (24 sts)
- Rnd 6-9: Sc in each st around. (24 sts)
- Rnd 10: [Sc 2, dec] 6 times. (18 sts)
- Sl st to the next stitch to finish. Fasten off and weave in ends.
Assembly
Fill the pot with fiberfill or a small weight to keep it stable. Place the cactus on top of the pot. Use the yarn needle and the tail from the cactus body to whip stitch the base of the cactus to the top edge of the pot. Ensure the stitches are tight to prevent the stuffing from showing.
Care & Washing Instructions
- Hand wash in cool water using a mild detergent to maintain the shape of the fiberfill.
- Gently squeeze out excess water with a towel, taking care not to wring or twist the piece.
- Lay flat on a dry towel in a ventilated area to air dry completely.
Pro Tips & Common Mistakes to Avoid
- Maintain consistent tension throughout the project to ensure stuffing does not poke through the gaps between stitches.
- Always place a stitch marker at the first stitch of every round to keep track of your count, as it is easy to lose your place in continuous spirals.
- When weaving in your ends, run the needle through the inside of the cactus body to keep the exterior surface clean and smooth.
- You can adjust the height of the cactus by adding or subtracting rounds of plain sc; however, ensure you keep the circumference consistent so the base remains stable.
Frequently Asked Questions
Can I use a different yarn weight for this project?
Yes, you can use any weight of yarn, provided you match it with an appropriate hook size that is small enough to keep your stitches tight so the stuffing does not show.
Is this project suitable for a complete beginner?
This pattern is designed for beginners who are comfortable with working in the round and understand the basic single crochet stitch and increases.
How do I keep the cactus from toppling over?
If the cactus feels top-heavy, place a small clean pebble or a metal washer at the very bottom of the pot before adding your fiberfill to act as a counterweight.
May I sell the finished cacti that I make from this pattern?
Please check the original designer’s terms included with the pattern source, as copyright policies for selling finished handmade items vary by creator.
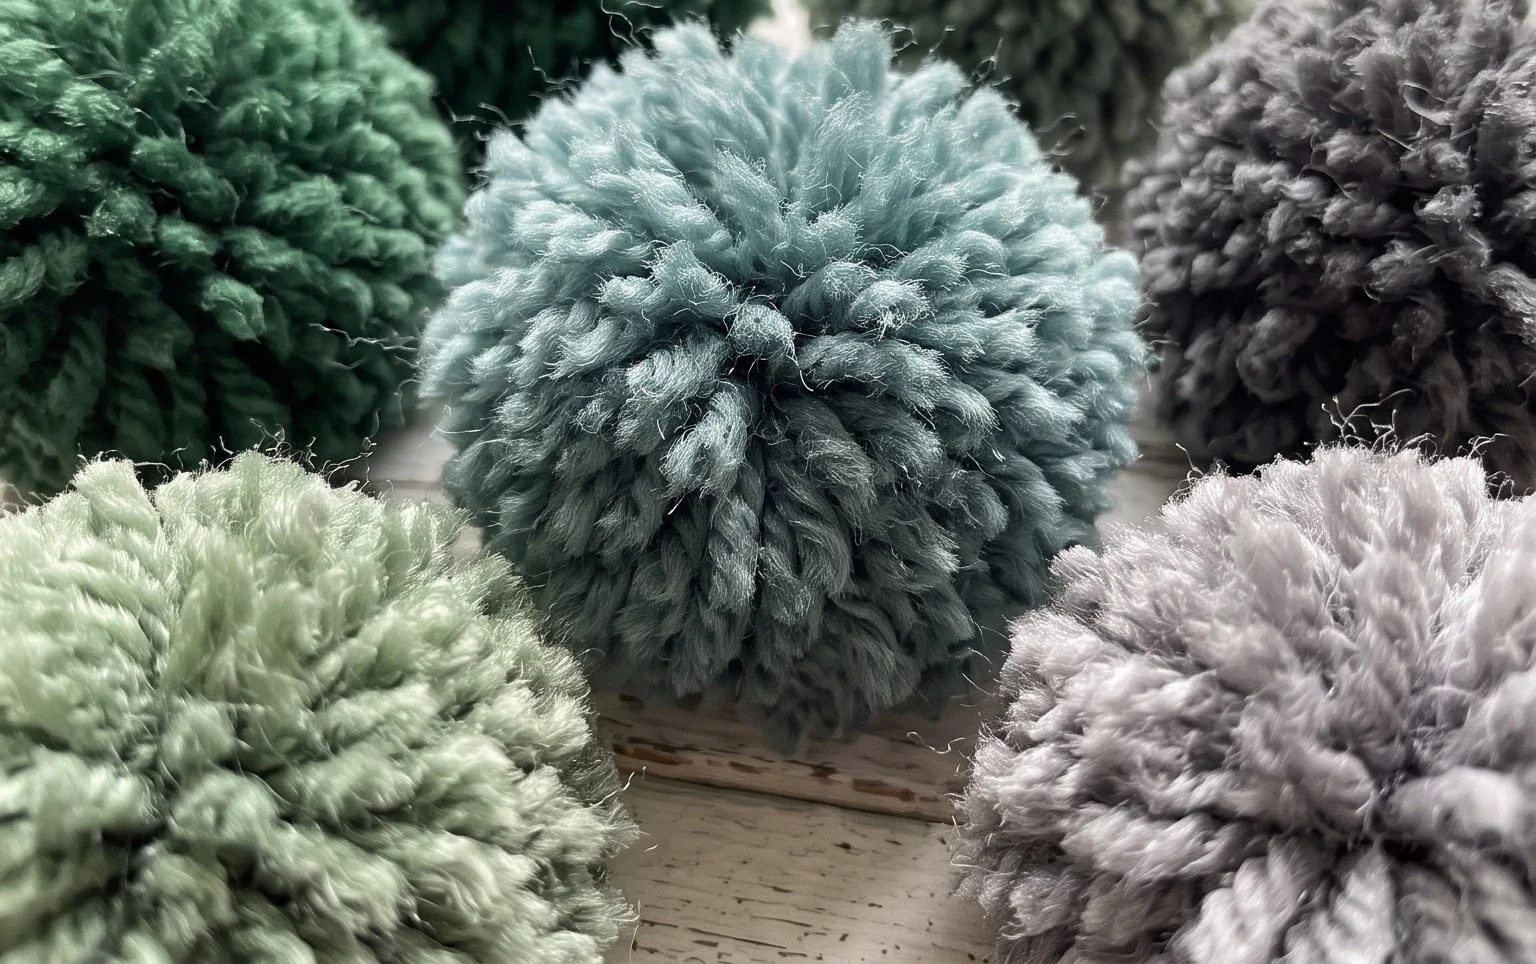
Your finished set of spheres adds a soft, tactile touch to your favorite winter hat or child’s nursery mobile. You can change the final look by mixing neon strands with neutral wool to create a modern, speckled aesthetic for your home. Snap a photo of your trimmed creations and post them to your feed to show off the dense, full shape you achieved. Once you finish your first batch, head over to the main archives for more beginner tutorials and scrap-busting projects that help you use up every last inch of fiber.