Easy Crochet Lacy Coaster: Free Step-by-Step Pattern
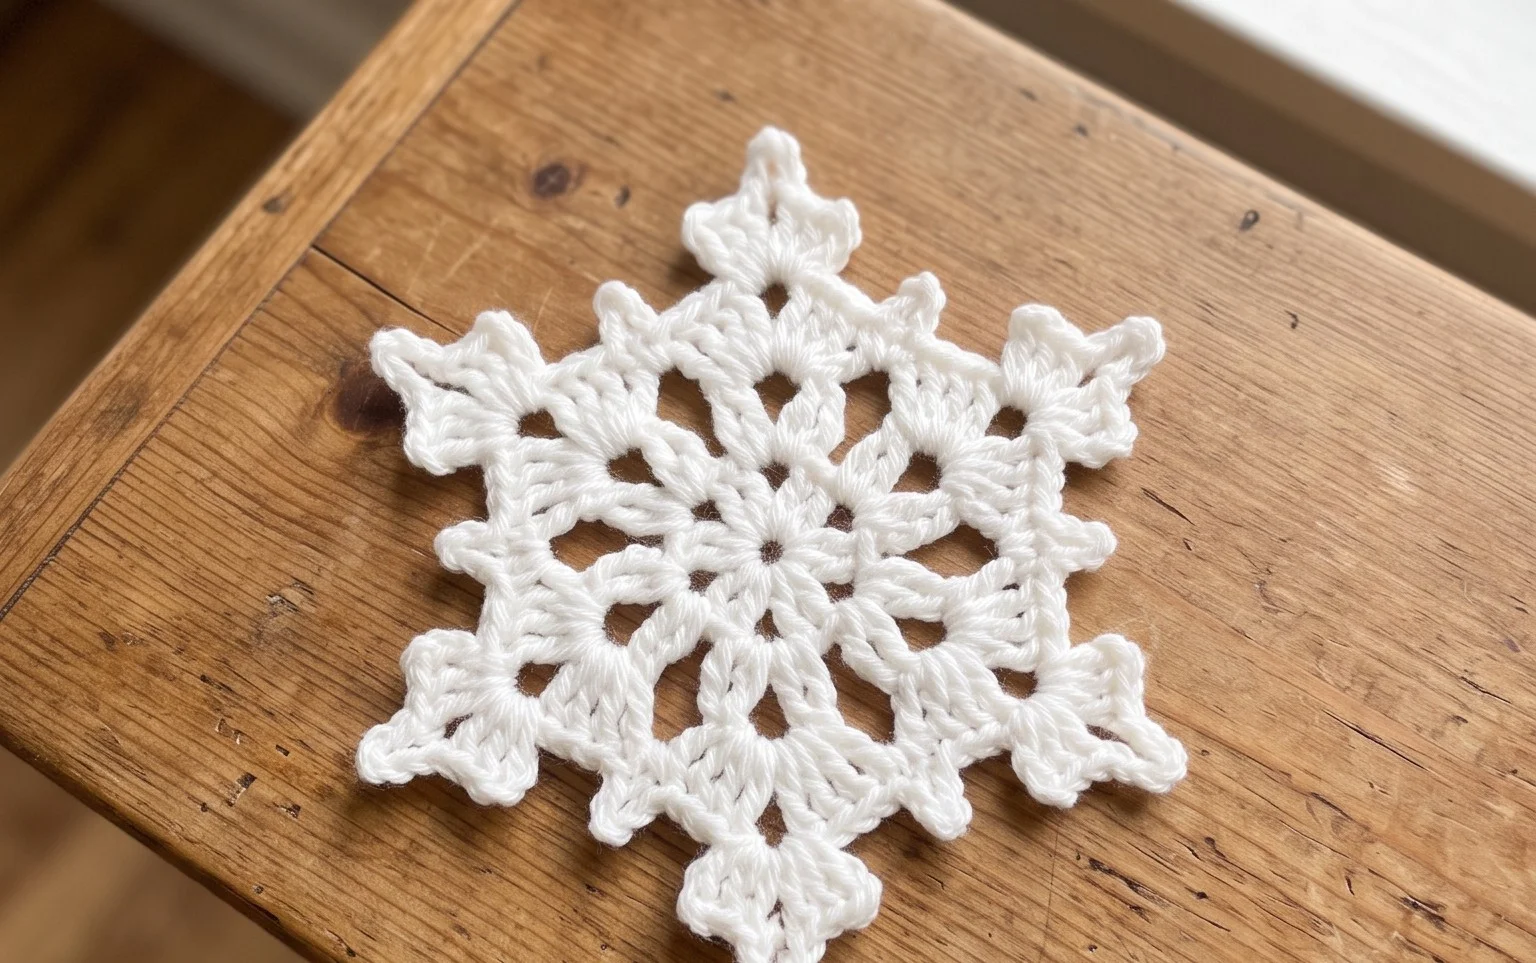
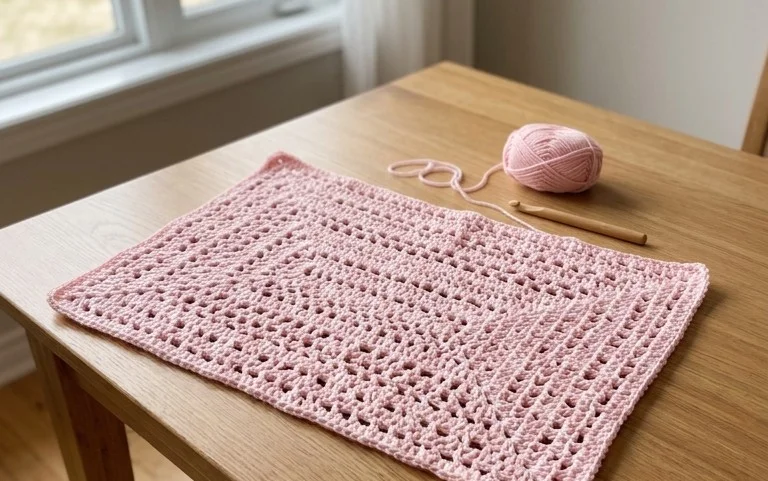
This delicate openwork design creates a light and airy surface that protects your wooden surfaces without hiding the natural grain of your table. It brings a gentle, handmade touch to your morning coffee routine while offering a soothing repetitive rhythm that helps you unwind after a long afternoon. Beginners will appreciate how the simple chain spaces form the signature open grid, turning basic loops into a decorative finished piece. You only need a small amount of leftover cotton yarn to complete this project, making it a great way to tidy your stash while creating something beautiful.
Why You’ll Love This Pattern
This beginner-friendly crochet coaster pattern provides a practical way to protect your furniture while practicing fundamental stitch techniques. The design relies on a continuous spiral, which removes the need for visible seams or joining stitches, resulting in a clean and polished finished edge. You can complete a single coaster in under 30 minutes, making this an ideal project for using up small amounts of leftover cotton yarn. Because the pattern uses single crochet stitches exclusively, it creates a dense, absorbent fabric that holds its shape well after repeated use.
These coasters worked up quickly and look fantastic on my coffee table. The pattern was easy to follow and the final result is sturdy enough for everyday use.
— Sarah, home crafter
Pattern Overview & Skill Level
- Skill Level: Beginner
- Approximate Time: 20-30 minutes per coaster
- Construction: Working in continuous rounds starting from a center point
- Finished Dimensions & Sizing: Approximately 4 inches in diameter
Materials & Supplies Needed
- Yarn: Worsted #4 cotton yarn, approximately 15 yards per coaster. Cotton is essential for heat resistance and absorbency.
- Hook Size: 5.0 mm (H-8) crochet hook.
- Notions: Tapestry needle for weaving ends, stitch marker to keep track of the start of each round.
- Yarn substitutions: You may use acrylic yarn, but note that it will not absorb moisture effectively and may melt if exposed to very hot drinkware. Using a DK weight yarn will result in a smaller coaster, while bulky yarn will increase the finished size significantly.
Stitch Guide & Abbreviations (US Terms)
- MR = Magic Ring
- ch = chain
- sc = single crochet
- inc = increase (2 sc in the same stitch)
- st = stitch
- sl st = slip stitch
- BLO = back loop only (used only for the final round to create a slight ridge)
Step-by-Step Pattern Instructions
Coaster Body
- Rnd 1: Start with a MR. Work 6 sc into the ring. Tighten the ring securely (6 sts).
- Rnd 2: Work 2 sc in each st around (12 sts).
- Rnd 3: *1 sc in next st, inc in next st; repeat from * around (18 sts).
- Rnd 4: *1 sc in next 2 sts, inc in next st; repeat from * around (24 sts).
- Rnd 5: *1 sc in next 3 sts, inc in next st; repeat from * around (30 sts).
- Rnd 6: *1 sc in next 4 sts, inc in next st; repeat from * around (36 sts).
- Rnd 7: *1 sc in next 5 sts, inc in next st; repeat from * around (42 sts).
- Rnd 8: Work 1 sc in BLO in each st around (42 sts).
- Rnd 9: Sl st into the next st to finish the round. Fasten off and leave a tail for weaving.
Finishing
Use your tapestry needle to weave the starting tail into the back of the Magic Ring to prevent it from loosening over time. Secure the ending tail by weaving it through the back loops of the final round, then trim the excess yarn close to the fabric surface.
Care & Washing Instructions
- Machine wash on a gentle cycle in cool water to prevent shrinking.
- Lay the coaster flat on a towel to air dry, reshaping it with your hands while it is still damp.
- Avoid using high-heat settings in a dryer, as this can degrade the cotton fibers and alter the shape of the coaster.
Pro Tips & Common Mistakes to Avoid
- Maintain consistent tension throughout the rounds; if your stitches are too loose, the coaster will lose its flat shape and begin to ruffle.
- Always place a stitch marker in the first stitch of every round. Since this pattern uses continuous rounds, it is easy to lose your place without a marker.
- Weave in your yarn ends by traveling through the stitches on the back side of the coaster for at least one inch to ensure they do not pull out during washing.
- If you wish to make a larger coaster, continue the pattern of increasing by 6 stitches every round (e.g., 6, 12, 18, 24, 30, 36, 42) until you reach your desired diameter, keeping in mind that this will require additional yardage.
Frequently Asked Questions
Can I use a different yarn weight for this pattern?
Yes, you can use any yarn weight, but be sure to match your hook size to the yarn label. A thinner yarn will require more rounds to reach the same size, while a thicker yarn will reach 4 inches in fewer rounds.
Why is my coaster curling up like a bowl?
Curling usually happens if your tension is too tight or if you have skipped an increase. Check your stitch counts against the pattern to ensure you are adding 6 stitches in every round.
Is this pattern suitable for complete beginners?
Yes, this is an excellent starter project. It teaches you how to work in a circle, how to increase stitches, and how to work in the back loop, which are essential skills for many other crochet projects.
Can I sell the coasters I make from this pattern?
You are welcome to sell finished items made from this pattern. I only ask that you do not redistribute the pattern text or claim the design as your own.
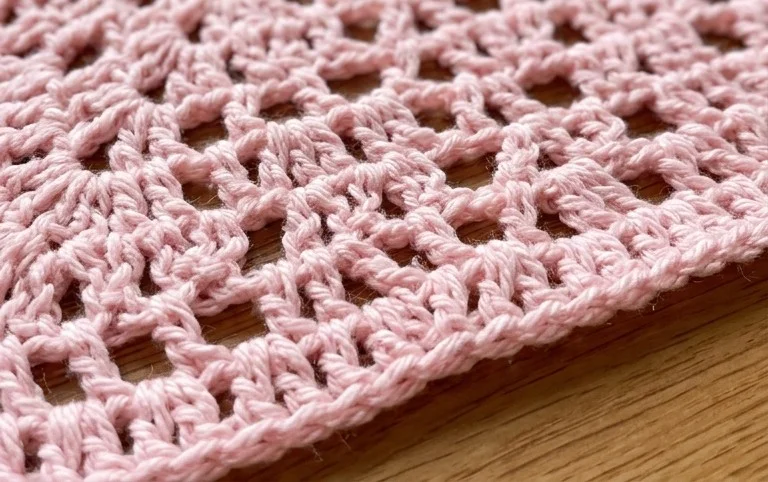
Your finished lacy coasters add a thoughtful, handcrafted detail to any room and make lovely gifts for friends who appreciate functional decor. Try holding two strands of thinner yarn together if you want to experiment with a thicker, more cushioned texture or play with bold variegated colors to change the mood of the piece. Please share a photo of your work online so we can admire your color choices, and browse our archives for more free patterns to fill your next afternoon. Happy stitching.