Classic Crochet Granny Square: Free Beginner Pattern
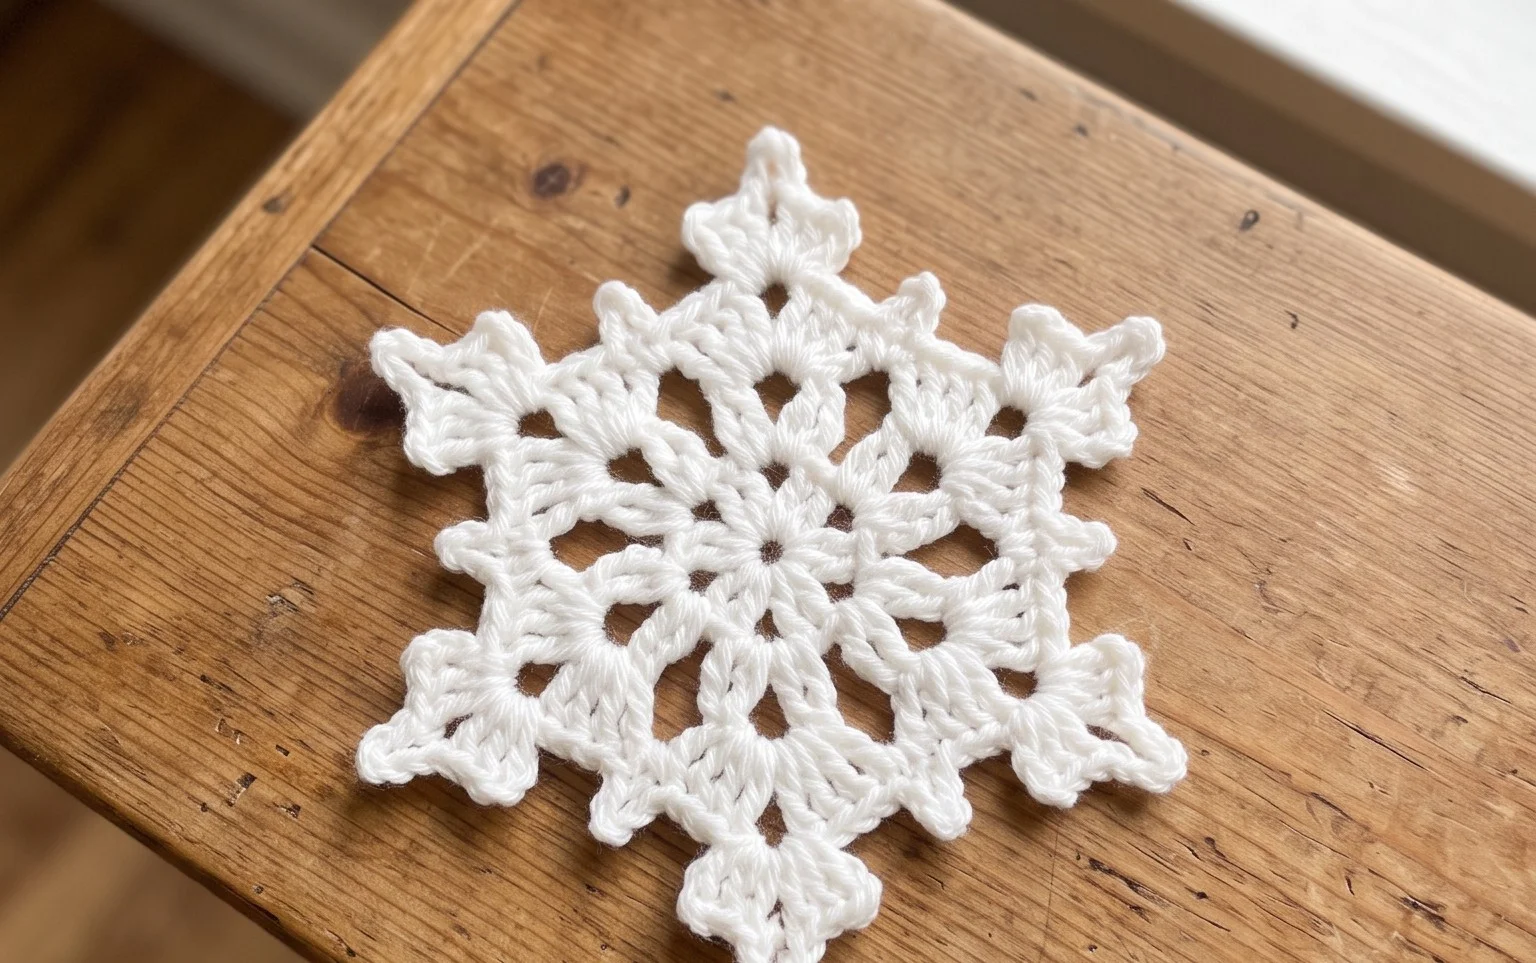
A stack of hand-stitched squares carries a soft, substantial weight that feels familiar the moment you pick it up. These blocks create a tidy, uniform fabric with a distinct open-center design that highlights the geometric nature of the stitches. Beginners will find the process rewarding because each round provides immediate progress, turning a small pile of yarn into a polished, finished piece in less than an hour. You will learn the mechanics of working double crochet clusters into chain spaces, which forms the foundation for countless blankets and clothing items. This project offers a meditative, consistent rhythm that allows you to build confidence while observing how tension changes the drape of your final work.
Why You’ll Love This Pattern
The Classic Crochet Granny Square is the quintessential building block for fiber artists because it relies on a simple, rhythmic repetition of double crochet clusters. This project is ideal for using up leftover yarn scraps from larger blankets or garments, allowing you to play with color theory without committing to a single skein. Because the square grows outward from the center, you can stop at any size to create everything from coasters to full-sized afghans. The structural stability of the granny square makes it a reliable choice for beginners who want to practice tension and consistent stitch height.
I finally learned to join my rounds correctly after watching this tutorial, and now I have a whole stack of squares ready to be joined into a cardigan. The instructions for the corners make the edges perfectly crisp every time.
— Sarah, hobbyist crafter
Pattern Overview & Skill Level
- Skill Level: Beginner
- Approximate Time: 30 to 45 minutes per square
- Construction: Worked in joined rounds, starting from the center and expanding outward
- Finished Dimensions: Approximately 5 inches square using worsted weight yarn
Materials & Supplies Needed
- Yarn: Worsted #4 weight, 100% acrylic or wool blend, approximately 15-20 yards per square.
- Hook Size: 5.0 mm / H-8
- Notions: Tapestry needle for weaving in ends, sharp scissors.
- Yarn Substitutions: You can use DK weight yarn with a 4.0 mm hook for a smaller, tighter square, or bulky weight yarn with a 6.0 mm hook for a faster, larger piece. Changing the weight will alter the final dimensions, so ensure you match your hook to the yarn manufacturer’s label recommendation for the best result.
Stitch Guide & Abbreviations (US Terms)
- ch = chain
- sl st = slip stitch
- dc = double crochet
- dc cluster = 3 dc worked into the same space
- sp = space
- rnd = round
- st/sts = stitch/stitches
Step-by-Step Pattern Instructions
This pattern is worked in the round. Join each round with a slip stitch into the top of the first stitch of the round.
Granny Square Body
- Rnd 1: Start with a magic ring or ch 4 and join with a sl st to form a loop. Ch 3 (counts as first dc), work 2 dc into the ring. Ch 2, 3 dc into ring, ch 2 3 times. Join with sl st to the top of the beginning ch 3. (12 sts)
- Rnd 2: Sl st into the next dc and into the corner ch-2 sp. Ch 3, 2 dc in same corner sp, ch 2, 3 dc in same corner sp. Ch 1, skip 3 dc, (3 dc, ch 2, 3 dc) in next corner sp 3 times. Ch 1, join with sl st to the top of the beginning ch 3. (24 sts)
- Rnd 3: Sl st into the next dc and into the corner ch-2 sp. Ch 3, 2 dc in same corner sp, ch 2, 3 dc in same corner sp. Ch 1, 3 dc in next ch-1 sp, ch 1, (3 dc, ch 2, 3 dc) in next corner sp 3 times. Ch 1, 3 dc in next ch-1 sp, ch 1, join with sl st to top of beginning ch 3. (36 sts)
- Rnd 4: Continue the pattern by working (3 dc, ch 2, 3 dc) in every corner and 3 dc in every ch-1 sp along the sides, with ch 1 between every cluster. Join with sl st to the top of the beginning ch 3. (48 sts)
Finishing
Cut the yarn leaving a 6-inch tail. Pull the yarn tail through the loop on your hook to fasten off. Use a tapestry needle to weave the end through the back loops of the finished round to secure the yarn. Trim any excess fiber close to the knot.
Care & Washing Instructions
- Hand wash in cool water using a mild detergent specifically designed for delicate fibers.
- Gently squeeze out excess water by rolling the square in a clean towel; avoid wringing or twisting the fabric.
- Lay the square flat on a blocking mat or towel to air dry, pulling the corners into a precise 90-degree angle to maintain shape.
Pro Tips & Common Mistakes to Avoid
Maintaining consistent tension is the most frequent challenge for beginners; if your square curls, your tension may be too tight, so consider going up one hook size. Place a stitch marker in the first chain of your starting chain three to make it easier to identify the join point at the end of each round. Weave your ends in as you go to prevent a massive finishing task at the end of a multi-square project. You can adjust the size of the square by adding or subtracting rounds, but remember that each additional round will require more yardage than the previous one.
Frequently Asked Questions
Can I use a different yarn weight for this pattern?
Yes, you can use any weight, but your hook size must be adjusted accordingly. Always check the yarn label for the recommended hook size to ensure the fabric remains flexible.
Why are my corners looking rounded instead of square?
If your corners are pulling inward, ensure you are working a chain-2 between the double crochet clusters in the corners. If they are ruffling, you may have too many stitches in the corner spaces.
Is this project suitable for selling at craft fairs?
Yes, you are welcome to sell items made from this pattern. I recommend checking the specific licensing terms of the original pattern source if you are using a designer’s unique modification, but basic granny squares are generally considered public domain construction.
How do I join these squares together?
There are several methods, including the whip stitch, single crochet join, or the invisible flat braid join. Choose the method that best matches the aesthetic you want for your final blanket or garment.
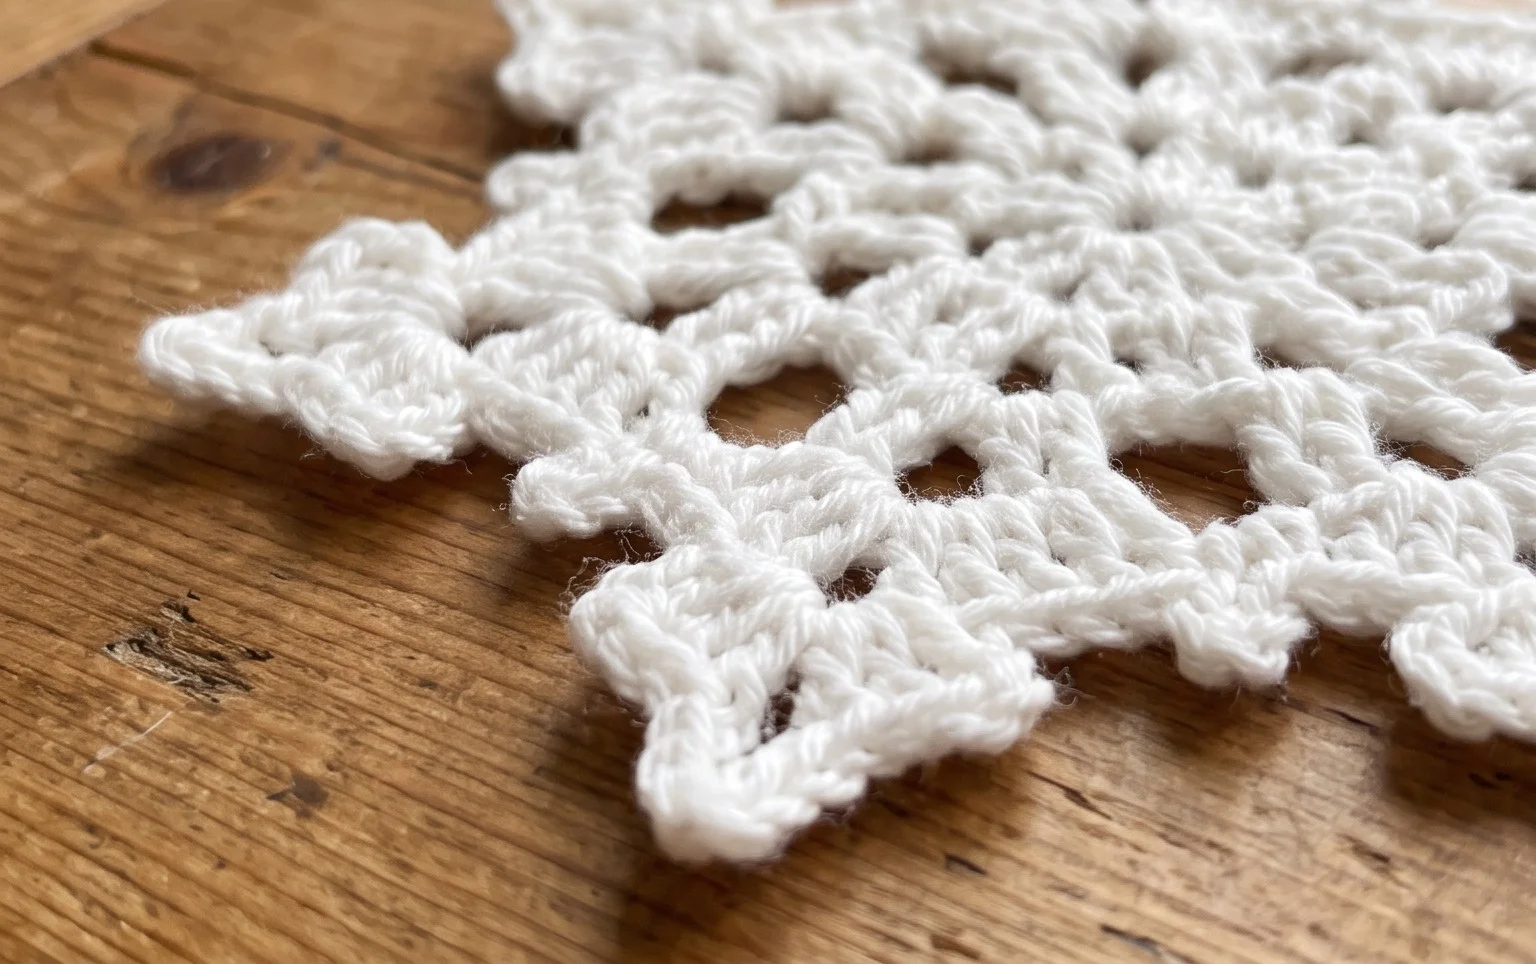
Seeing your first finished block sitting on your desk is a great milestone in your crafting journey. You might consider holding two strands of yarn together for a chunkier, warmer texture or swapping your worsted weight for cotton to create a set of durable kitchen washcloths. Please post a picture of your finished work online so the community can celebrate your progress alongside you. You are welcome to browse the rest of our blog for more free patterns that utilize these same fundamental techniques to build your skills further.