Easy Christmas Tote Bags: Free Granny Square Pattern
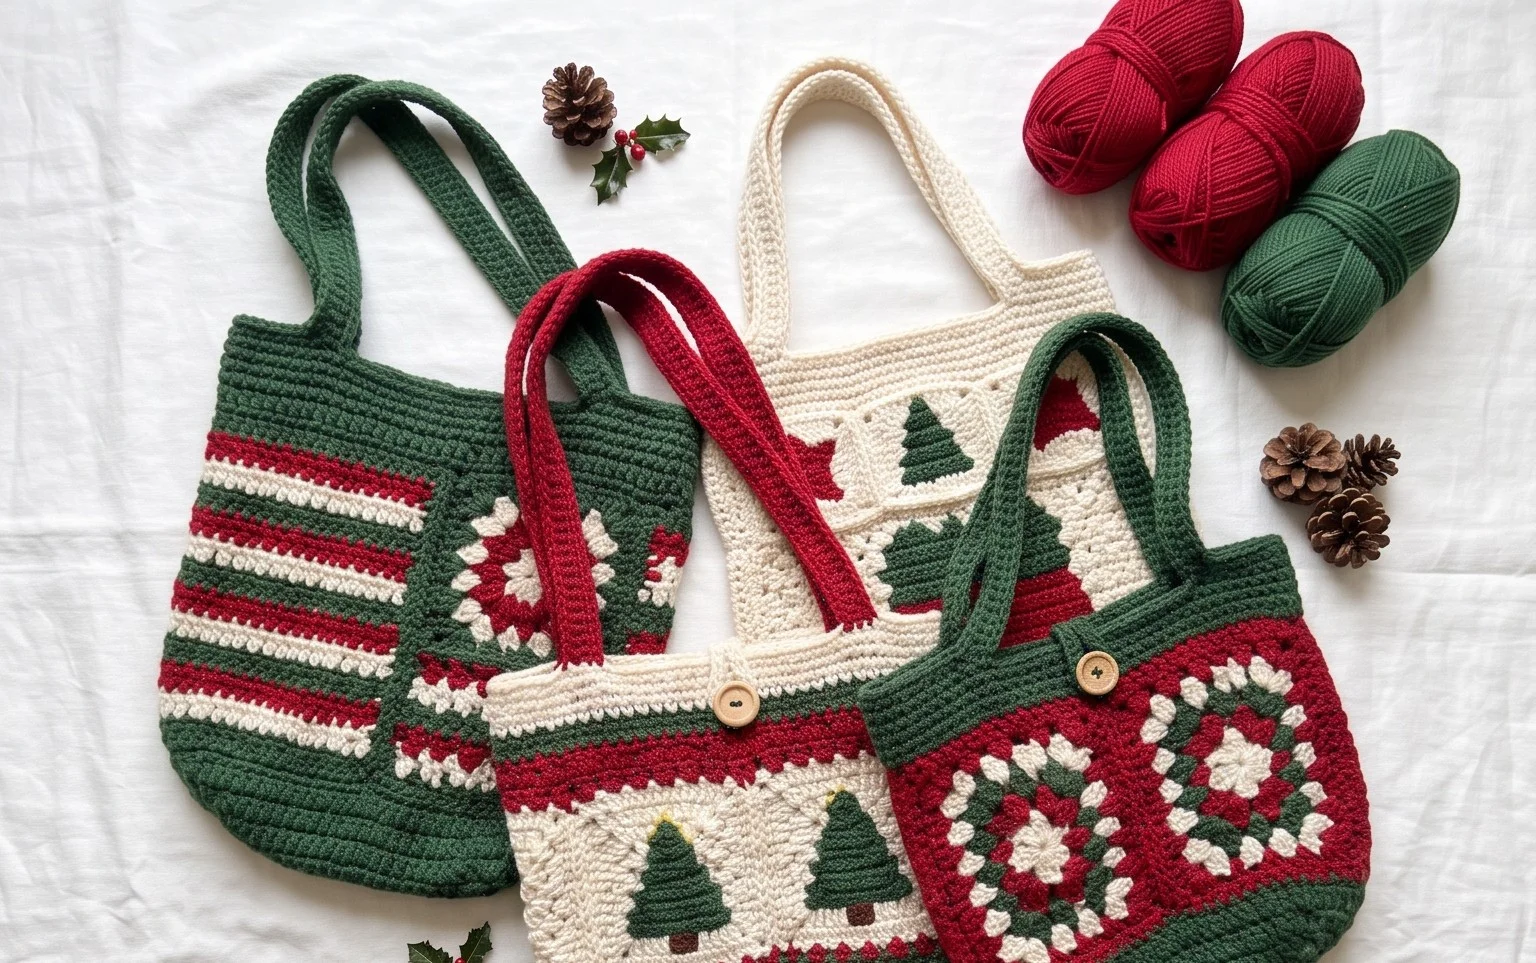
These sturdy holiday totes feature a rustic, homespun charm that highlights the traditional beauty of handmade granny squares. This project suits anyone wanting a meaningful, functional gift that holds groceries or thoughtful presents during the festive season. You will work with basic double crochet clusters to build dense, squares that feel soft yet firm enough to carry weight. Making these bags provides a quiet escape during a busy time of year, allowing you to settle in with your hook and yarn. You will learn the exact sequence for joining your squares to create a flat, seamless structure that stands up to daily use.
Why You’ll Love This Pattern
The Classic Crochet Granny Square is the quintessential building block for fiber artists. You will find that this pattern is exceptionally meditative due to its repetitive, rhythmic nature, making it ideal for winding down after a busy day. Because each square works up in just a few rounds, it is a highly portable project that you can easily tuck into a small bag for crafting on the go. Beginners appreciate how quickly the pattern establishes the basic concepts of working in rounds and cluster stitches, while experienced makers value its versatility for stash-busting leftover yarn. You can join these squares to create anything from light summer blankets to structured tote bags.
I managed to whip up a dozen of these squares over a single weekend using my scrap yarn pile. The instructions are very clear and the resulting squares lay perfectly flat without any curling.
— Sarah, hobbyist crocheter
Pattern Overview & Skill Level
- Skill Level: Beginner
- Approximate Time: 30 minutes per square
- Construction: Worked in joined rounds, starting from the center and expanding outward.
- Finished Dimensions & Sizing: Approximately 5 inches by 5 inches when using recommended yarn and hook.
Materials & Supplies Needed
- Yarn: Worsted weight #4, 100% acrylic or wool blend, approximately 20 yards per square.
- Hook Size: 5.0 mm / H-8.
- Notions: Tapestry needle for weaving in ends, sharp scissors.
- Safe yarn substitutions: Cotton yarn will result in a firmer, heavier square with less drape. Alpaca blends will create a softer, slightly fuzzier texture but may require a smaller hook to prevent excessive gapping.
Stitch Guide & Abbreviations (US Terms)
- ch: Chain
- st: Stitch
- sl st: Slip stitch
- dc: Double crochet
- dc cluster: A set of 3 dc stitches worked into the same space.
- sp: Space
- rnd: Round
Step-by-Step Pattern Instructions
Granny Square Body
- Rnd 1: Ch 4, join with sl st to the first ch to form a ring. Ch 3 (counts as dc throughout), 2 dc in ring, ch 2, (3 dc in ring, ch 2) 3 times. Join with sl st to top of beg ch-3. (12 dc, 4 ch-2 spaces)
- Rnd 2: Sl st into the next 2 dc and into the first ch-2 corner sp. Ch 3, 2 dc, ch 2, 3 dc in same sp. *Ch 1, (3 dc, ch 2, 3 dc) in next ch-2 sp. Repeat from * 2 more times. Ch 1, join with sl st to top of beg ch-3. (24 dc, 4 ch-2 spaces, 4 ch-1 spaces)
- Rnd 3: Sl st into next 2 dc and into corner ch-2 sp. Ch 3, 2 dc, ch 2, 3 dc in same sp. *Ch 1, 3 dc in next ch-1 sp, ch 1, (3 dc, ch 2, 3 dc) in corner ch-2 sp. Repeat from * 2 more times. Ch 1, 3 dc in final ch-1 sp, ch 1, join with sl st to top of beg ch-3. (36 dc, 4 ch-2 spaces, 8 ch-1 spaces)
- Rnd 4: Sl st into next 2 dc and into corner ch-2 sp. Ch 3, 2 dc, ch 2, 3 dc in same sp. *Ch 1, (3 dc in next ch-1 sp, ch 1) twice, (3 dc, ch 2, 3 dc) in corner ch-2 sp. Repeat from * 2 more times. Ch 1, 3 dc in next two ch-1 spaces, ch 1, join with sl st to top of beg ch-3. (48 dc, 4 ch-2 spaces, 12 ch-1 spaces)
Finishing
Fasten off, leaving a 6-inch tail. Use the tapestry needle to weave the yarn tail through the back loops of the final round to secure. Trim any excess yarn close to the fabric.
Care & Washing Instructions
- Hand wash in cool water with a mild detergent designed for delicates.
- Gently squeeze out excess water by rolling the square in a towel; do not wring or twist.
- Lay flat on a clean surface to air dry and reshape to square dimensions if necessary.
Pro Tips & Common Mistakes to Avoid
- Maintain consistent tension by ensuring your dc stitches are of equal height; if your square begins to ripple, your hook may be too large.
- Place a stitch marker in the first ch-3 of each round to easily identify where to join at the end of the round.
- Weave your ends in diagonally across the back of the stitches to ensure they remain invisible and do not pull loose over time.
- Adjusting the size is straightforward: simply add more rounds following the pattern logic of placing (3 dc, ch 2, 3 dc) in corners and 3 dc in each side space, remembering that every additional round will require significantly more yarn.
Frequently Asked Questions
Can I use a different yarn weight for this pattern?
Yes, you can use any yarn weight, but be sure to pair it with a hook size appropriate for that yarn. Using a thinner yarn will result in a smaller square, while a thicker yarn will create a larger, denser one.
Is this pattern suitable for complete beginners?
This pattern is an excellent starting point for beginners as it only requires knowledge of basic chains, slip stitches, and double crochets.
How can I join these squares together?
You can join them using a mattress stitch for a seamless look, or by using single crochet stitches through the back loops of both squares for a more textured, decorative seam.
Am I allowed to sell items made from this pattern?
You are welcome to sell finished items created from this pattern, provided you credit the original design and do not redistribute the written instructions themselves.
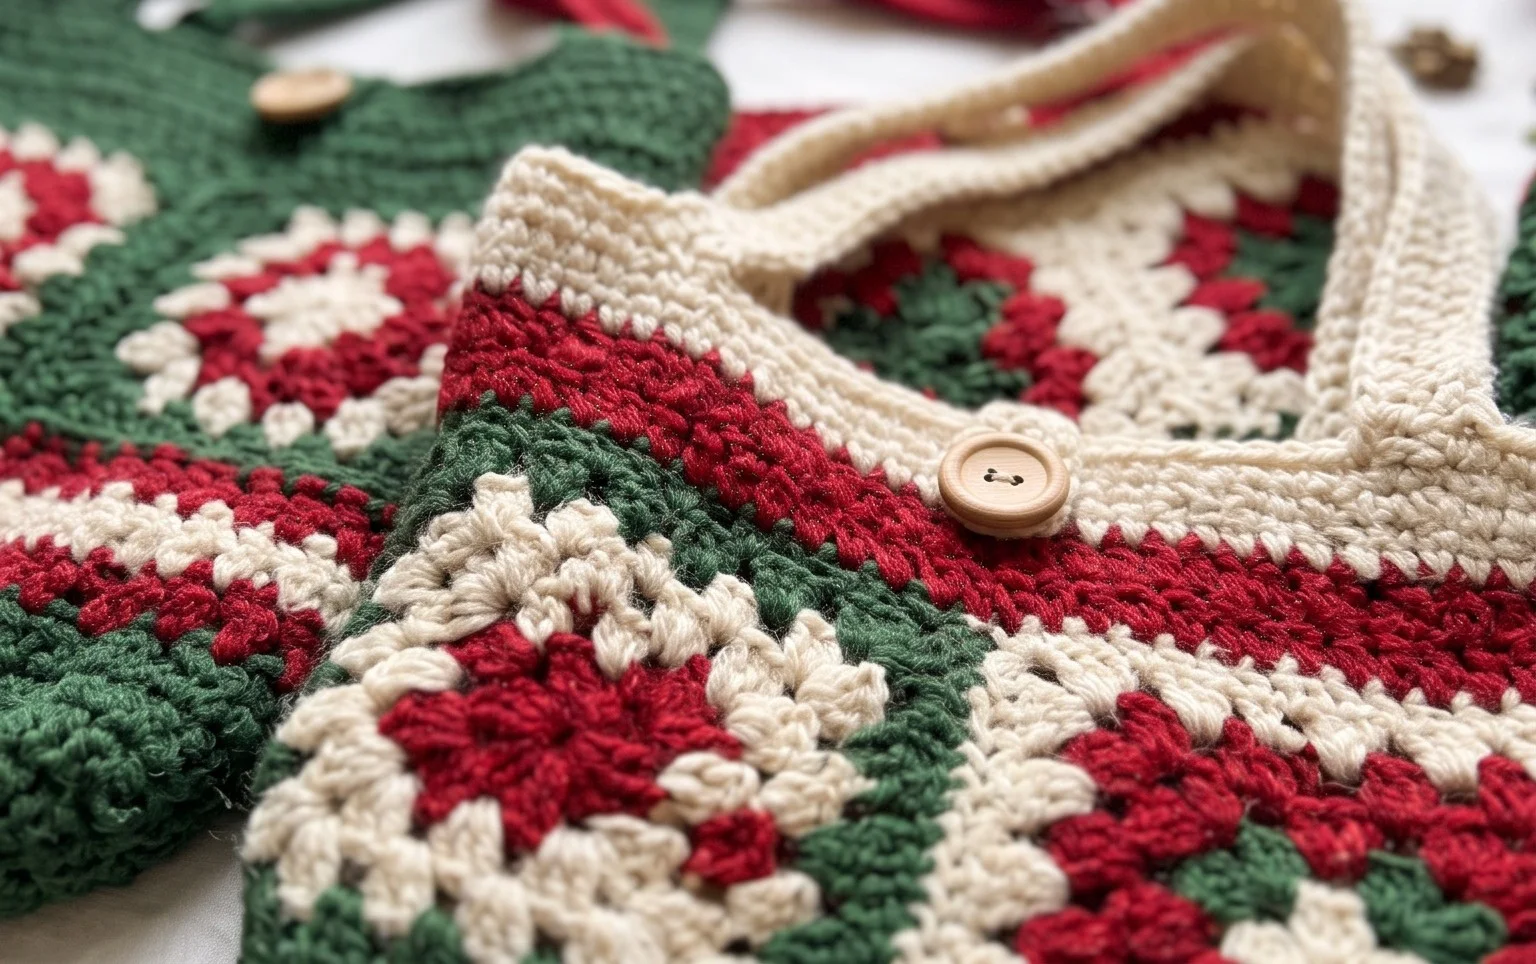
Your finished bag stands as a durable companion for holiday errands or wrapping festive gifts for your neighbors. You might consider using a metallic thread held alongside your primary yarn for a subtle sparkle that catches the light. Feel free to snap a picture of your finished work and share it with our community on social media to inspire others in their crafting. If you want to explore more free patterns, browse the archives on our blog to find your next project waiting for you.