Easy Christmas Crochet Village Coasters: Free Pattern
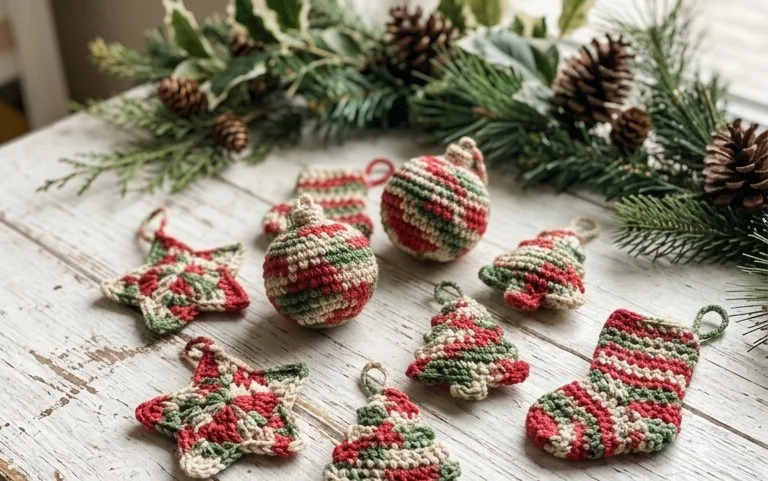
A small cluster of cotton-stitched houses creates a charming scene on any holiday table, offering a tactile warmth that mass-produced decorations simply cannot match. This beginner-friendly project involves constructing dense, circular foundations that mimic the look of winter village squares. It suits those who need a thoughtful, handmade gift in a hurry or anyone looking to add a personal, cozy touch to their seasonal decor. You will learn to manage tension while working in joined rounds to ensure your work lays perfectly flat. By the time you finish, you will possess a set of durable coasters that bring a touch of handmade cheer to your morning coffee.
Why You’ll Love This Pattern
This beginner-friendly crochet coaster pattern provides an immediate sense of accomplishment because you can complete a full set in a single evening. The design relies on basic stitches to build a dense, absorbent fabric that protects your wooden tables from moisture rings. Because it requires less than 20 yards of cotton yarn per piece, it serves as a practical way to use up leftover yarn from larger projects. The final result is a professional-looking, durable home accessory that stands up well to frequent use and repeated washings.
I managed to whip up a matching set of four for my coffee table in under two hours. The instructions are very clear and the result lays perfectly flat without any curling.
— Sarah, home crafter
Pattern Overview & Skill Level
- Skill Level: Beginner
- Approximate Time: 30 minutes per coaster
- Construction: Worked in joined rounds, starting from a center ring and expanding outward to create a flat circular disk
- Finished Dimensions: 4 inches in diameter
Materials & Supplies Needed
- Yarn: Worsted weight #4, 100% cotton yarn (mercerized cotton provides better stitch definition and durability), approximately 15-20 yards per coaster.
- Hook Size: 5.0 mm (US H-8)
- Notions: Tapestry needle for weaving in ends, scissors, and optional stitch markers to track the start of rounds.
- Safe yarn substitutions: You may use an acrylic blend, but be aware that acrylic is less absorbent than cotton and may not protect surfaces as effectively against hot or cold condensation.
Stitch Guide & Abbreviations (US Terms)
- ch = chain
- sc = single crochet
- dc = double crochet
- sl st = slip stitch
- st/sts = stitch/stitches
- inc = 2 dc in the same stitch
- Magic Ring: A method of starting a round by crocheting over an adjustable loop that pulls tight to close the center hole.
Step-by-Step Pattern Instructions
Coaster Body
- Rnd 1: Start with a magic ring. Ch 3 (counts as first dc), work 11 dc into the ring. Join with a sl st to the top of the initial ch-3. (12 sts)
- Rnd 2: Ch 3, dc in the same st as join. Work 2 dc in each remaining st around. Join with a sl st to the top of the initial ch-3. (24 sts)
- Rnd 3: Ch 3, 2 dc in the next st, *dc in the next st, 2 dc in the next st. Repeat from * around. Join with a sl st to the top of the initial ch-3. (36 sts)
- Rnd 4: Ch 3, dc in the next st, 2 dc in the next st, *dc in the next 2 sts, 2 dc in the next st. Repeat from * around. Join with a sl st to the top of the initial ch-3. (48 sts)
- Finishing: Fasten off, leaving a 6-inch tail. Use your tapestry needle to weave the tail through the back loops of the final round to secure, then trim the excess yarn. Pull the magic ring tight to ensure there is no visible hole in the center.
Care & Washing Instructions
- Machine wash on a gentle cycle in cold water using a mild detergent to prevent fiber breakdown.
- Lay the coasters flat on a clean towel to air dry, reshaping them while damp to ensure they remain perfectly round.
- If the coasters lose their shape after repeated use, lightly steam them with an iron held a few inches away to relax the cotton fibers.
Pro Tips & Common Mistakes to Avoid
To achieve a professional finish, keep your tension consistent throughout every round. If your hands tend to tighten up as you work, take a short break halfway through to prevent the fabric from puckering or pulling inward. Always place a stitch marker in the first stitch of each round to avoid losing count of your increases, which is the most common cause of warped or wavy coasters. When weaving in your ends, run the needle through the stitches on the back side of the coaster in at least two different directions to ensure the yarn stays locked in place even after many washes. If you decide to make a larger coaster, simply add additional increase rounds, but remember that each round must increase by 12 stitches to maintain a flat, circular shape.
Frequently Asked Questions
Can I use a larger hook size than recommended?
Using a larger hook will result in a looser, airier fabric. While this works for decorative items, it will make the coaster less effective at absorbing condensation from glasses. Stick to the 5.0 mm hook for the density required for coasters.
How do I adjust the size of the coaster?
To make the coaster larger, continue the increase pattern of Round 4. Each subsequent round should have an extra double crochet between the increases, maintaining a total of 12 increases per round to keep the piece flat.
Is this pattern suitable for someone holding a crochet hook for the first time?
Yes, this pattern uses only basic stitches and simple increases. It is an ideal project for practicing how to work in joined rounds and how to maintain a consistent gauge.
Am I allowed to sell coasters made from this pattern?
You are welcome to sell finished items created from this pattern. I only ask that you credit the designer and provide a link back to this website in your product listing.
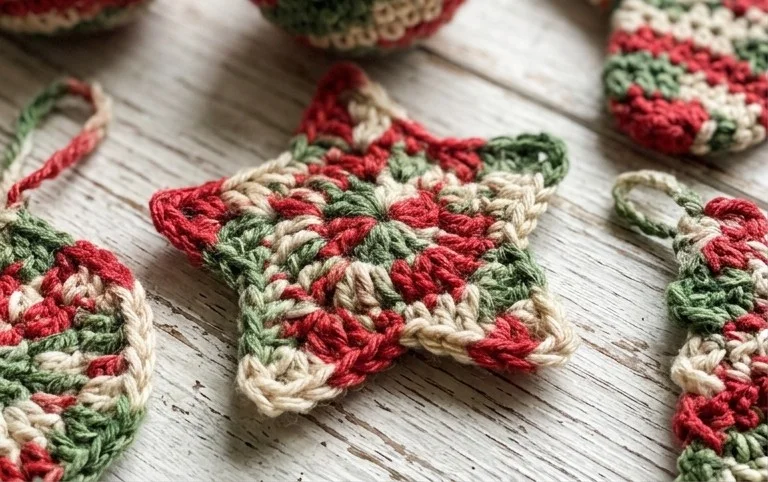
Your finished set of coasters adds a touch of handmade warmth to your living room and works well as a unique housewarming gift for friends. If you want to experiment, try using metallic thread held alongside your cotton yarn for a subtle winter shimmer or work them in deep burgundy for a classic look. Post a photo of your finished work online so others can see how you styled your holiday home. Check out my other free crochet patterns on the blog to find more projects that help you clear out your yarn stash during the cold winter months.