Easy Unisex Crochet Beanie: Free Beginner Step-by-Step
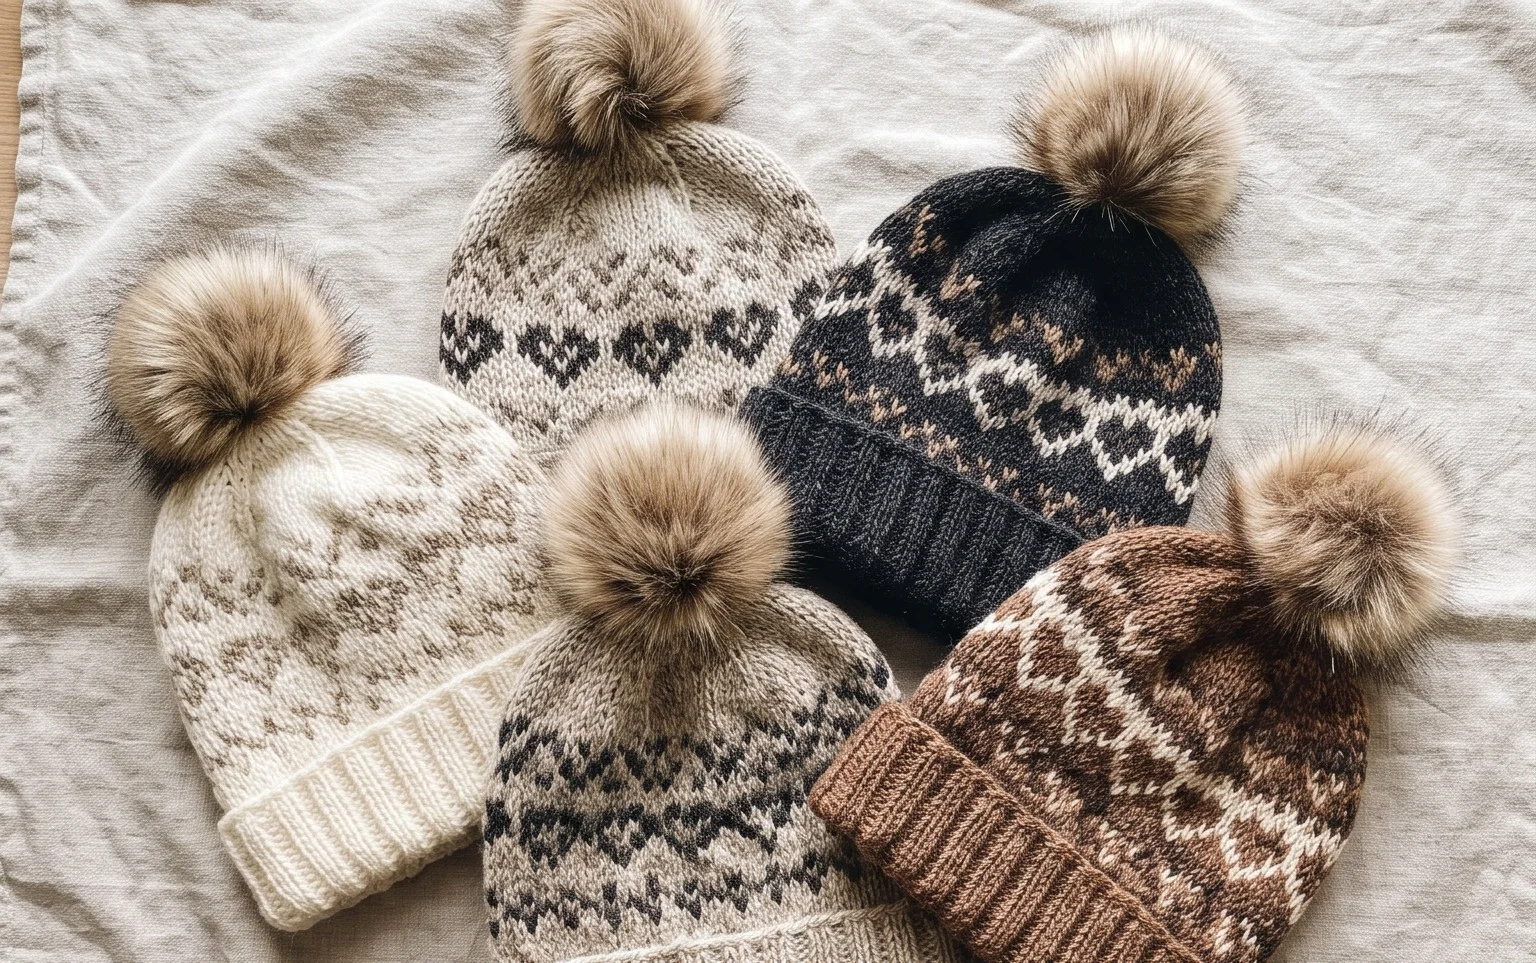
A squishy, ribbed hat provides a comfortable warmth that feels just right on a brisk morning or during a cold commute. This simple accessory fits anyone thanks to its generous stretch, making it a reliable project for those times you need a quick gift for a friend or a personal staple for your own wardrobe. You will learn to form a neat rectangle using the back loop only technique, which creates a deep, vertical texture resembling expensive knitwear. It is a satisfying project that builds your confidence while keeping your hands busy during a quiet evening at home.
Why You’ll Love This Pattern
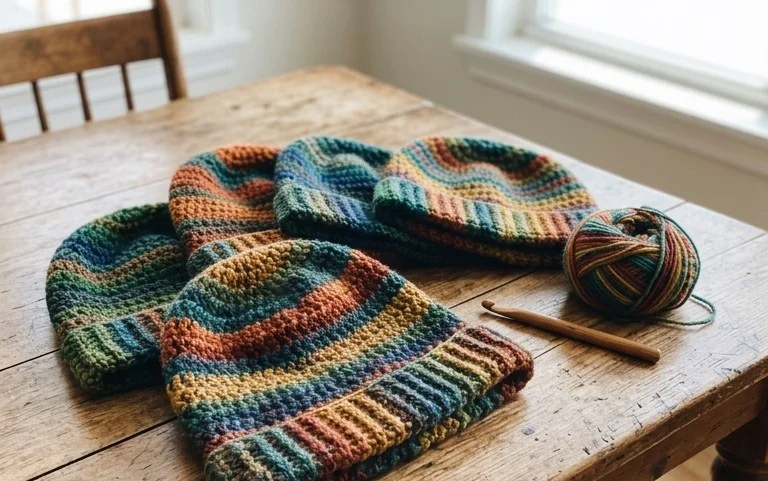
This crochet ribbed beanie pattern uses a simple construction method that turns a flat rectangle into a cozy, fitted accessory. By working in back loops only, you create a stretchy, squishy texture that mimics high-end knitwear without requiring knitting needles. It works up quickly using basic single crochet stitches, making it a reliable choice for late-night crafting or weekend gifts. Because it is a rectangular construction, you can easily adjust the height for a slouchy look or the length for a tighter fit.
I finished this hat in one evening while watching a movie. The ribbed texture is much more professional looking than I expected for such a simple repeating stitch pattern.
— Sarah, beginner crocheter
Pattern Overview & Skill Level
- Skill Level: Beginner
- Approximate Time: 3 to 4 hours
- Construction: Worked flat in one rectangular piece and seamed along the side, then cinched at the top.
- Finished Dimensions: Fits an average adult head (20 to 22 inch circumference), 9 inches tall when folded.
Materials & Supplies Needed
- Yarn: Worsted weight #4, wool or acrylic blend, approximately 200 yards.
- Hook Size: 5.0 mm / H-8.
- Notions: Tapestry needle, stitch markers, and scissors.
- Yarn Substitutions: You can use cotton, but be aware that it has less stretch than wool or acrylic, which may require you to add extra foundation chains to reach your desired fit.
Stitch Guide & Abbreviations (US Terms)
- ch: chain
- sc: single crochet
- BLO: back loop only (insert hook under the back loop of the stitch instead of both loops to create ribbing).
- st/sts: stitch/stitches
- sl st: slip stitch
Step-by-Step Pattern Instructions
Main Body
The hat is worked back and forth in rows to create a large rectangle. Keep your tension consistent to ensure the ribbing remains uniform across the entire piece.
- Row 1: Ch 41. Sc in the second ch from the hook and in each ch across. (40 sts)
- Row 2: Ch 1, turn. Work sc in BLO of every st across. (40 sts)
- Rows 3 to 70: Repeat Row 2 until the piece measures approximately 20 inches wide when stretched slightly.
Assembly and Finishing
Once you reach the desired width, fasten off, leaving a long 15-inch tail of yarn for sewing.
- Fold the rectangle in half so the short edges meet.
- Use the tapestry needle and the long yarn tail to whip stitch the short ends together, creating a tube.
- Thread the needle with a fresh piece of yarn and weave it in and out along one of the raw edges of the tube.
- Pull the yarn tight to gather the top of the hat closed. Secure with a knot and weave in your ends securely.
- Turn the hat right side out and fold the bottom edge up to create a brim.
Care & Washing Instructions
- Hand wash your finished hat in cool water with a mild wool-safe detergent.
- Lay the item flat on a clean towel and roll it to remove excess moisture; do not wring or twist.
- Reshape the hat while damp and allow it to air dry away from direct heat sources to prevent fiber damage.
Pro Tips & Common Mistakes to Avoid
Maintain consistent tension throughout the project, as changes in tightness will cause the ribbing to look wavy or uneven. Use a stitch marker on the first stitch of every row to ensure you do not accidentally skip the final stitch, which is a common error that causes the rectangle to taper at the edges. When weaving in your ends, run the yarn through the stitches in multiple directions to ensure it stays secure even after repeated washing. To adjust the size, simply add or subtract rows to the width for a larger or smaller circumference, or add more chains at the start to increase the height of the hat.
Frequently Asked Questions
Can I use a heavier yarn weight for this pattern?
Yes, but you will need to adjust your starting chain length and total number of rows. A bulky yarn will work up faster but will require fewer stitches to reach the same head circumference.
Is this pattern suitable for complete beginners?
It is an ideal first project. The pattern relies entirely on single crochet stitches, which are the most fundamental building block in crochet, and the repetitive nature helps you develop consistent hand movement.
Can I sell the hats I make from this pattern?
You are welcome to sell your finished items as long as you credit the pattern design to me. Please use your own photos for your listings rather than using the images from this tutorial.
What should I do if the hat is too loose?
If the hat feels too large, simply work fewer rows in your next attempt. The ribbing naturally stretches, so you want the flat rectangle to be slightly smaller than your actual head circumference before sewing it together.
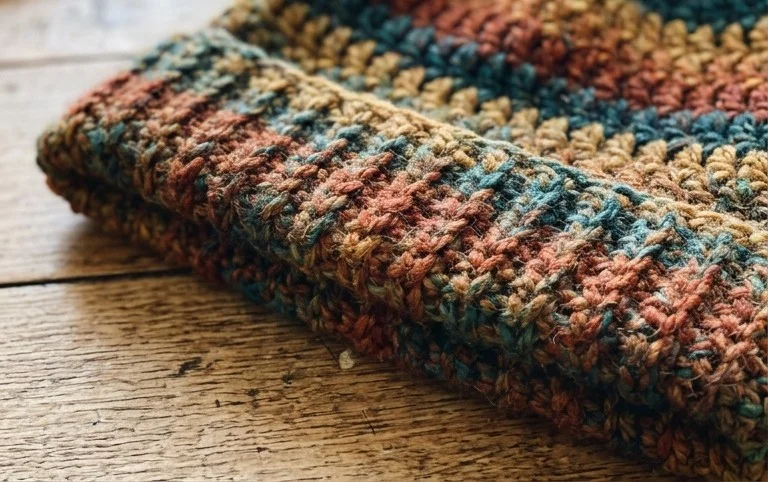
Your finished hat should feel soft, snug, and ready for your next chilly outing. Consider making another one using a variegated yarn to add a splash of color to your winter outfits or simply sticking to a neutral charcoal gray for a classic look. If you decide to snap a photo of your work, please share it on social media so others can see how your project turned out. You can also explore the rest of my blog for more free patterns that you can start today.