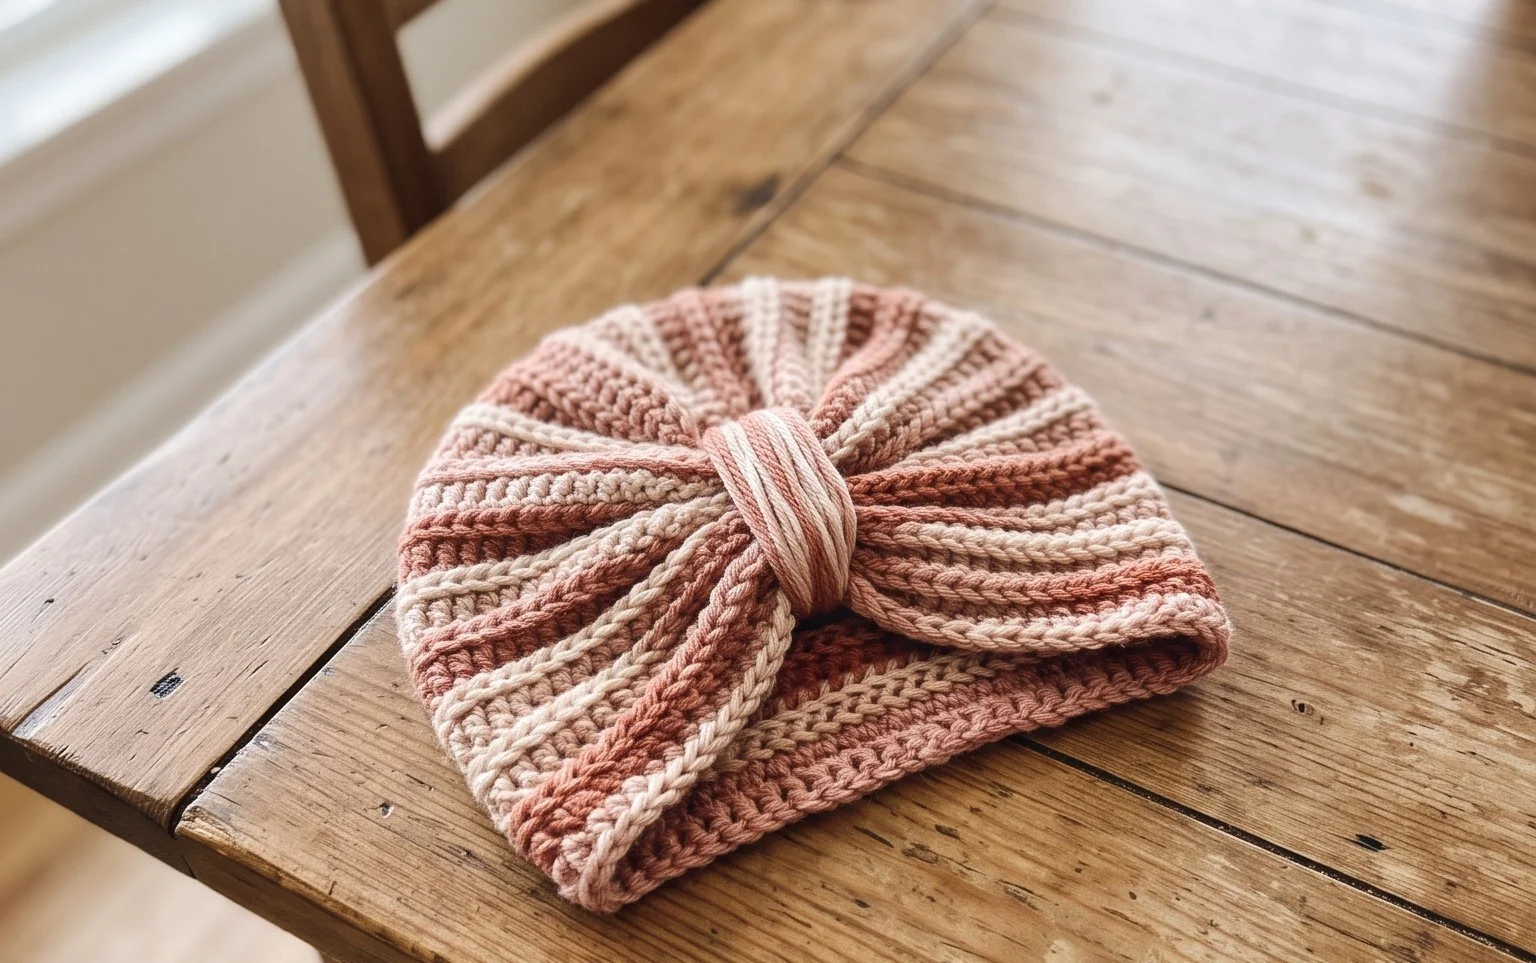
Easy Crochet Fair Isle Hearts Hat: Free Pattern Guide
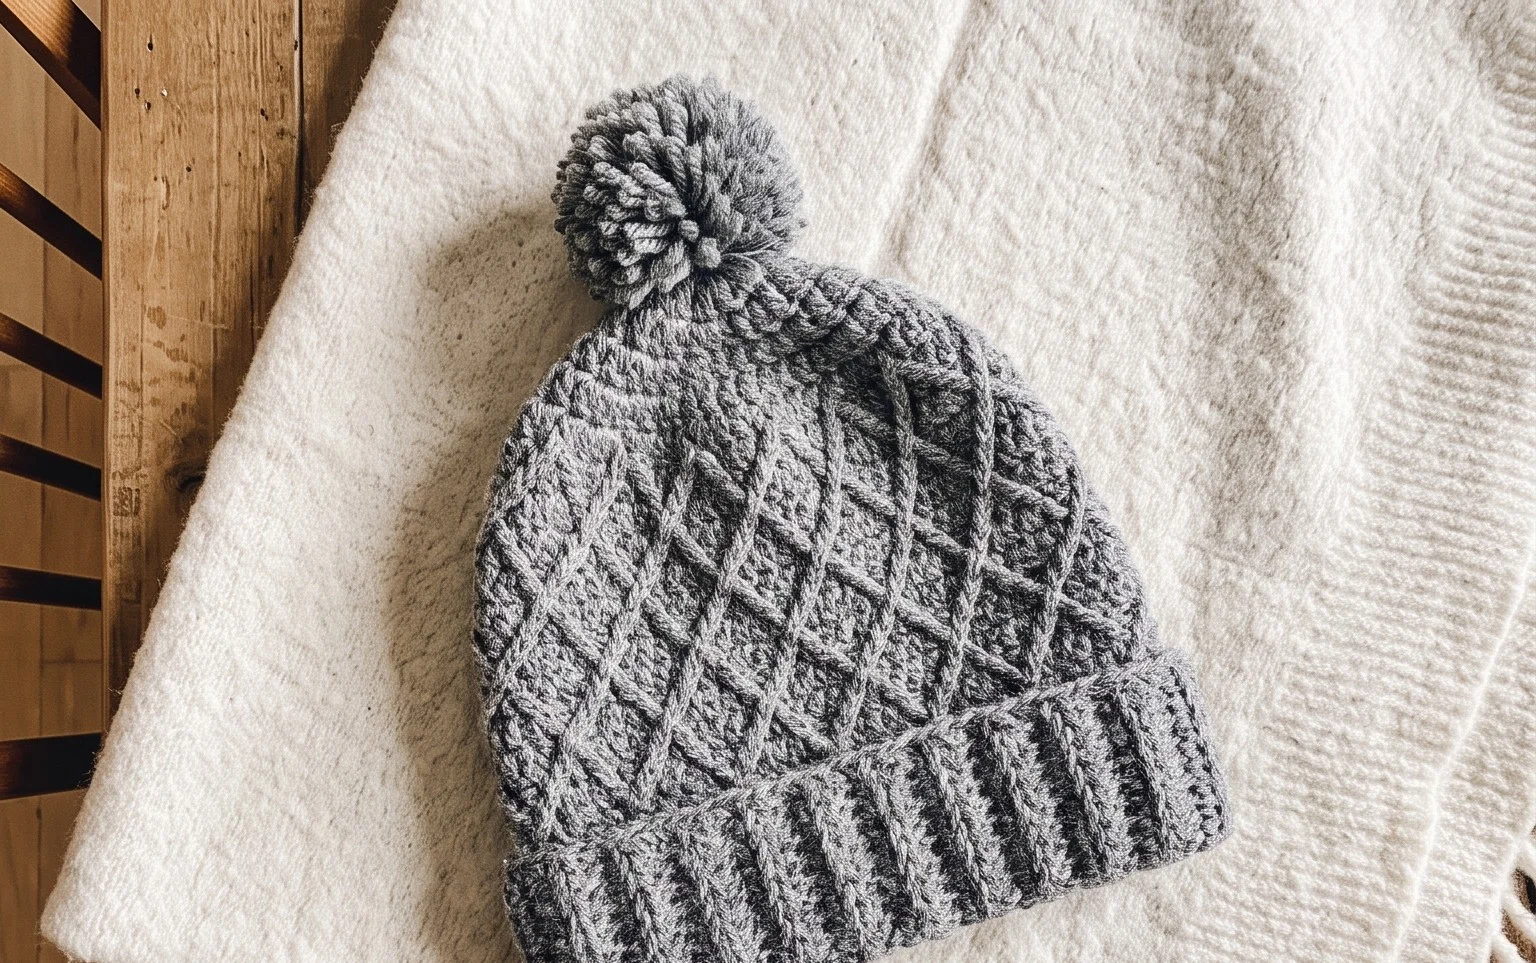
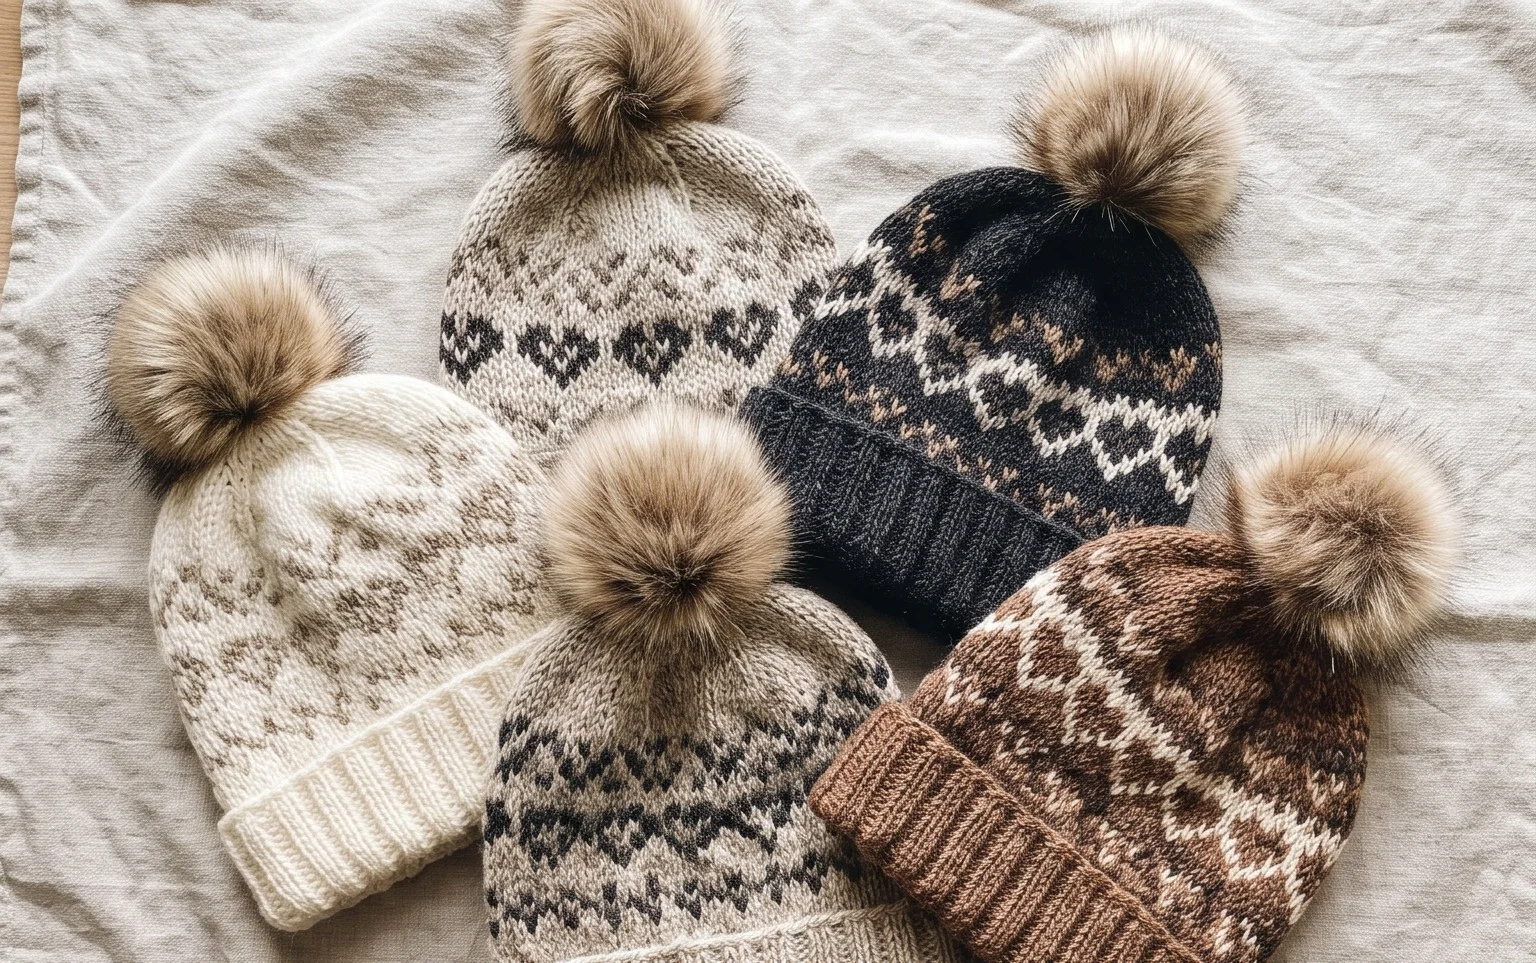
This snuggly beanie features a repeating heart motif that adds a sweet touch to any winter outfit. You will love how the dense, squishy fabric keeps your ears warm during chilly walks or snowy mornings. Beginners appreciate this project because it relies on simple back-loop single crochet stitches to create a sophisticated look without complex colorwork cables. Working in a flat rectangle makes assembly straightforward and lets you customize the fit to your specific head size. Whether you want to clear out your yarn stash or create a thoughtful handmade gift, this design offers a satisfying rhythm that keeps your hands busy while you relax.
Why You’ll Love This Pattern
This crochet ribbed beanie pattern uses a simple construction method that mimics a professional knit-look finish using only basic single crochet stitches. Because the fabric is worked in rows and then seamed into a tube, you can easily adjust the height of the hat to create either a fitted cap or a slouchy style. It is an ideal project for using up partial skeins of medium-weight yarn, making it a budget-friendly option for mass-producing gifts. The rhythmic nature of working in the back loops only ensures a meditative, stress-free crafting experience that yields a stretchy, comfortable accessory.
I managed to finish this hat in one evening while watching a movie. The instructions were very easy to follow and the finished piece fits my head perfectly without feeling too tight.
— Sarah, beginner crocheter
Pattern Overview & Skill Level
- Skill Level: Beginner
- Approximate Time: 2 to 3 hours
- Construction: Worked in flat rows to form a rectangle, then seamed to create a cylinder with one end cinched shut.
- Finished Dimensions: 9 inches wide by 10 inches tall (fits most adult heads).
Materials & Supplies Needed
- Yarn: Worsted weight #4, 100% acrylic or wool blend, approximately 200 yards.
- Hook Size: 5.0 mm (H-8).
- Notions: Large eye tapestry needle for seaming, stitch markers to track the start of rows, and a tape measure.
- Safe Yarn Substitutions: Using a cotton yarn will result in a heavier, less stretchy hat, while a thinner DK weight yarn will require adding more rows to meet the dimensions listed above.
Stitch Guide & Abbreviations (US Terms)
- ch = chain
- sc = single crochet
- BLO = back loop only (insert hook under the back loop of the V-shape stitch rather than both loops)
- sl st = slip stitch
- st/sts = stitch/stitches
- FO = fasten off
Step-by-Step Pattern Instructions
Main Hat Body
The hat is worked as a large rectangle. You will increase the chain length if you prefer a longer slouchy fit.
- Row 1: Ch 41. Sc in the second ch from hook and in each ch across. Ch 1, turn. (40 sts)
- Row 2: Sc in BLO of every st across. Ch 1, turn. (40 sts)
- Rows 3–60: Repeat Row 2 until your piece measures approximately 18 inches in width when laid flat without stretching.
- Finishing: Leave a 12-inch tail of yarn before cutting your working yarn.
Assembly and Finishing
- Seaming: Fold the rectangle in half, matching the short ends. Using your tapestry needle and the long tail, sl st or whipstitch through the back loops of the foundation chain and the loops of the final row to join the sides. You have now created a tube.
- Cinching the Top: With the same yarn tail, weave the needle in and out through the stitches along one open edge of the tube. Pull the yarn tail tightly to close the hole completely. Secure with a knot.
- Weaving Ends: Turn the hat inside out so the seam is on the interior. Weave in all remaining yarn ends securely before trimming excess.
Care & Washing Instructions
- Hand wash your hat in cool water using a mild detergent to preserve the elasticity of the stitches.
- Lay the item flat on a towel to air dry, ensuring it is shaped correctly while damp to prevent stretching.
- Avoid using a tumble dryer or heavy iron, as high heat can damage synthetic fibers and ruin the ribbing definition.
Pro Tips & Common Mistakes to Avoid
Maintain consistent tension throughout the project by keeping your yarn tail taut, as loose tension will lead to a hat that loses its shape after a few wears. Use a stitch marker at the beginning of every row if you find yourself accidentally dropping or adding stitches at the edges, which is a common mistake that causes the rectangular fabric to become a trapezoid. When weaving in your ends, run the yarn through the stitches in multiple directions rather than just one to ensure the tail does not work its way out during washing. If you decide to adjust the size, remember that every 2 rows you add or subtract will change the circumference of the hat by approximately 0.5 inches.
Frequently Asked Questions
Can I use a larger hook for this pattern?
Using a larger hook will make the fabric much looser and softer, but the hat will be less warm and may not hold its shape as well over time.
Is this pattern suitable for complete beginners?
Yes, because the pattern only uses the single crochet stitch and the back loop only technique, it is an excellent way to practice basic control and stitch consistency.
How do I adjust the size for a child?
Simply reduce the starting chain length to 30 or 35 stitches and work fewer rows until the rectangle wraps comfortably around the head of the intended wearer.
May I sell the hats I make from this pattern?
Please check the individual license terms provided by the designer; if this is a personal project, you are free to donate or sell them, but always credit the source pattern.
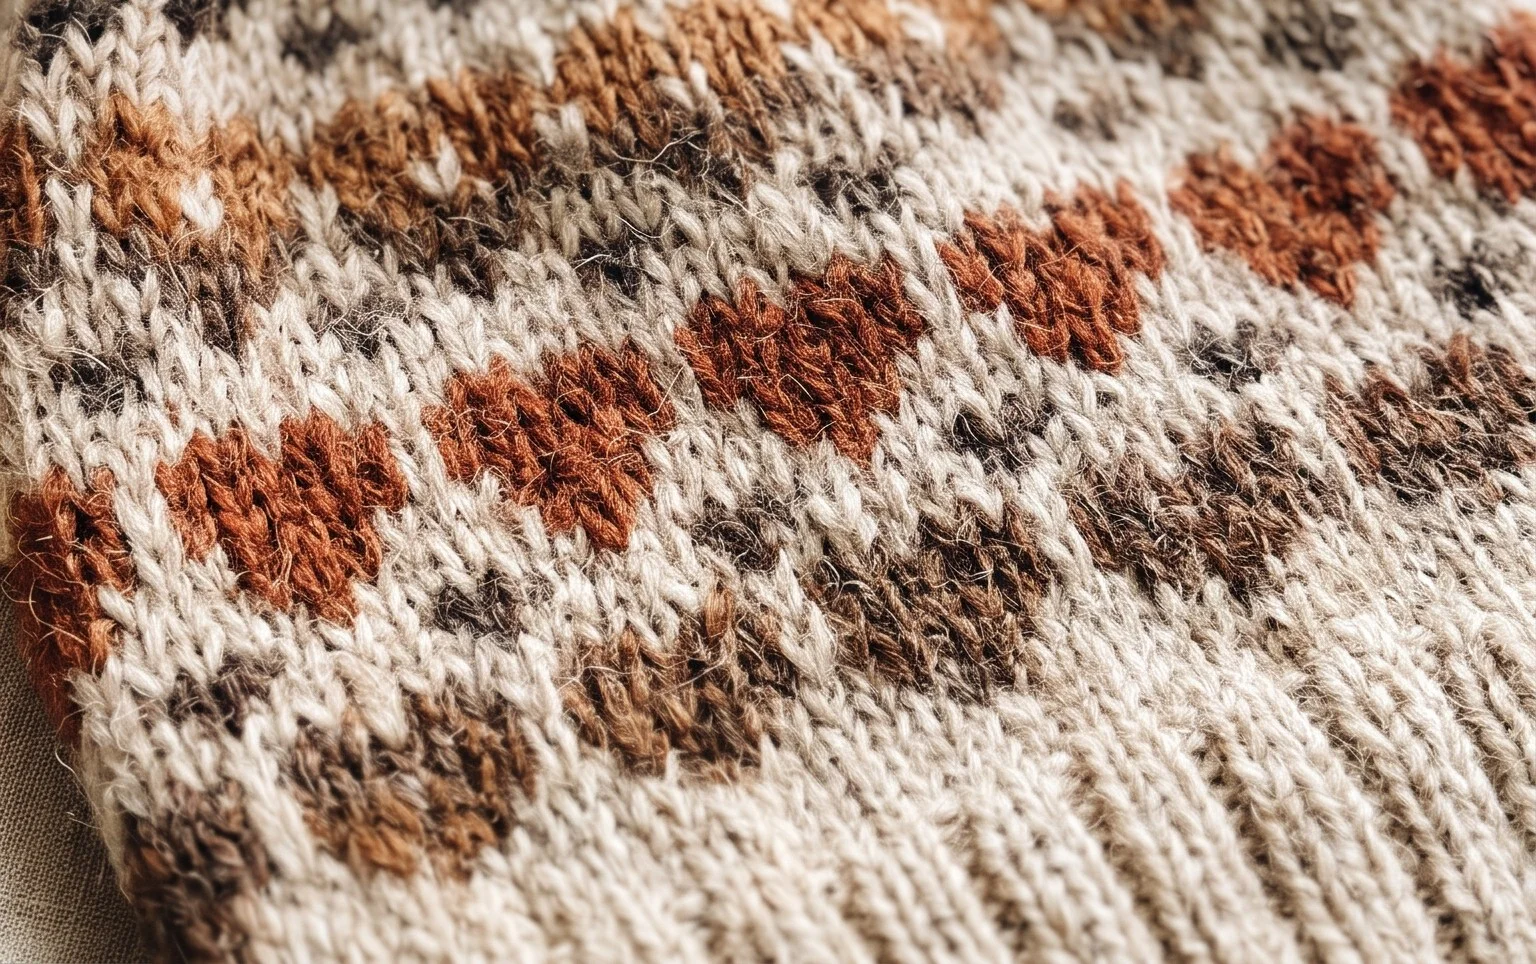
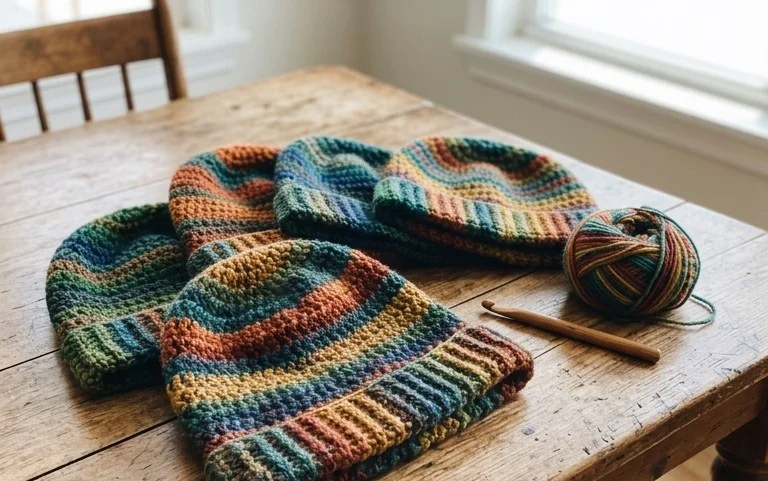
Seeing your finished accessory come together with its neat heart pattern brings a genuine sense of accomplishment to your afternoon. Try swapping the traditional red and white yarn for soft pastel tones or a variegated wool to give your beanie a unique, modern personality. When you post a photo of your cozy creation, tag our community page so we can admire your work. Visit the main project index on the site to find more free patterns that help you build your confidence with new hooks and fibers.